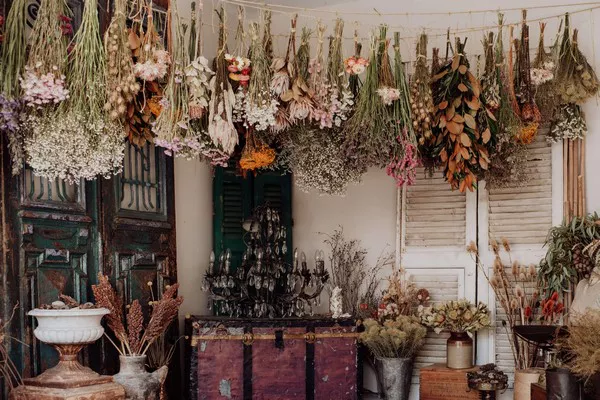
Dried flower shadowbox art has gained popularity as a beautiful and timeless way to preserve the fleeting beauty of flowers. Whether you’re a seasoned crafter or a novice looking to explore a new creative outlet, this comprehensive guide will take you through everything you need to know to create your own stunning piece of botanical art.
Dried flower shadowbox art combines the delicate charm of dried flowers with the depth and dimensionality of shadowboxes, resulting in a captivating display that can adorn any wall or shelf. This art form allows you to capture a moment in nature and transform it into a lasting decorative piece for your home or a thoughtful gift for someone special.
Getting Started: Materials You’ll Need
Before diving into the creative process, it’s essential to gather all the necessary materials. Here’s a list of what you’ll typically need:
Dried Flowers: Choose a variety of flowers with different shapes, sizes, and colors. Popular choices include roses, lavender, baby’s breath, and statice.
Shadowbox Frame: Select a shadowbox frame in a size and style that complements your dried flowers. Shadowboxes are available in various depths, typically ranging from 1 inch to 3 inches, allowing space for arranging flowers in layers.
Backing Material: A sturdy backing material such as acid-free cardstock or foam board will provide a stable surface for arranging and adhering your flowers.
Adhesive: Use a strong adhesive suitable for dried flowers and paper, such as craft glue or a glue gun.
Tweezers and Scissors: Tweezers will help you delicately handle small flowers and position them precisely, while scissors are essential for trimming stems and adjusting flower sizes.
Decorative Accents (Optional): Consider adding elements like ribbons, small figurines, or decorative paper to enhance your shadowbox’s aesthetic appeal.
Step-by-Step Guide to Creating Dried Flower Shadowbox Art
Step 1: Preparation
Begin by preparing your workspace. Lay out all your materials and ensure you have enough space to work comfortably without risking damage to delicate flowers.
Step 2: Selecting and Preparing Dried Flowers
Choose dried flowers that are in good condition, with vibrant colors and intact petals. If you’ve dried the flowers yourself, ensure they are fully dried to prevent molding inside the shadowbox. Trim any excess stems or leaves using scissors to achieve the desired size and shape.
Step 3: Designing the Layout
Before adhering anything, experiment with different layouts directly on the backing material of your shadowbox. Arrange the flowers in layers, with larger blooms at the back and smaller ones towards the front for depth. Consider mixing textures and colors for a visually appealing composition.
Step 4: Adhering Flowers
Once you’re satisfied with the layout, start adhering the flowers to the backing material using your chosen adhesive. Work from back to front, pressing each flower gently but firmly into place. Use tweezers to adjust positioning as needed, ensuring a neat and professional finish.
Step 5: Adding Decorative Elements (Optional)
If you wish to incorporate additional decorative elements, such as ribbons or small embellishments, now is the time to do so. These accents can complement the flowers and add a personalized touch to your shadowbox art.
Step 6: Assembling the Shadowbox Frame
Carefully place the completed backing with adhered flowers into the shadowbox frame. Secure the backing in place according to the frame’s instructions, ensuring it fits snugly and is centered within the frame.
Step 7: Final Touches and Display
Inspect your dried flower shadowbox art for any loose ends or imperfections. Make any necessary adjustments before sealing the frame. Once satisfied, seal the back of the shadowbox frame to protect the flowers from dust and humidity.
See Also: How to Keep Your Flowers Fresh: Essential Tips
Tips for Success
Patience Pays Off: Take your time during each step of the process to achieve a polished result.
Experiment with Layouts: Don’t be afraid to try different arrangements before committing to one.
Consider Color Harmony: Select flowers and accents that complement each other for a cohesive look.
Protect Your Artwork: Display your shadowbox art away from direct sunlight and humid areas to preserve its beauty.
Conclusion
Creating dried flower shadowbox art is not just a craft project; it’s a way to celebrate the beauty of nature and create a lasting piece of art that can be cherished for years to come. Whether you’re making it for yourself or as a gift, the process of selecting, arranging, and preserving dried flowers in a shadowbox frame is a rewarding experience. With the right materials, a bit of creativity, and attention to detail, you can craft a masterpiece that brings the outdoors into your living space.
By following this step-by-step guide and incorporating your own personal flair, you’ll soon be on your way to creating stunning dried flower shadowbox art that captivates and inspires. Enjoy the journey of transforming simple dried flowers into a work of art that tells a story of nature’s beauty and your creativity.


