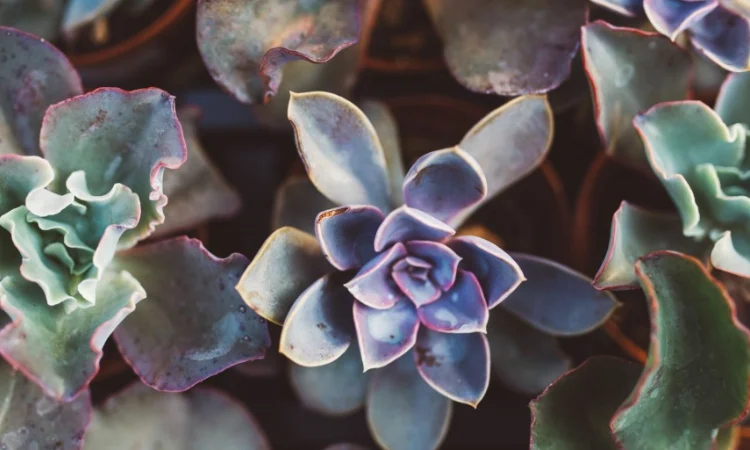
Succulents are cherished for their resilience, unique forms, and vibrant colors. One of the most gratifying aspects of caring for these plants is their ability to be propagated from leaves. This method not only allows enthusiasts to expand their collections but also provides an opportunity to share the joy of gardening with others. In this guide, we will explore the step-by-step process of regrowing succulents from leaves, the best practices for success, and troubleshooting tips for common issues.
Understanding Leaf Propagation
Leaf propagation involves taking a healthy leaf from a succulent and encouraging it to develop roots and eventually a new plant. This method is particularly effective for certain succulent varieties, such as Echeveria, Sedum, and Crassula. The process is relatively simple and can be done with minimal tools and resources.
Why Leaf Propagation Works
Succulents have specialized tissues that allow them to store water and nutrients in their leaves. When a leaf is detached from the parent plant, it can still survive for a period by utilizing these stored resources. With the right conditions, the leaf can produce roots and develop into a new plant.
Step-by-Step Guide to Regrowing Succulents from Leaves
Step 1: Selecting the Right Leaf
Choose a Healthy Leaf: Look for a plump, healthy leaf that is free from blemishes, discoloration, or disease. The best leaves are those that are firm and thick, as they contain more moisture and nutrients.
Remove the Leaf Carefully: Gently twist the leaf from the stem to ensure a clean break. Avoid cutting the leaf with scissors or a knife, as this can damage the tissue and lead to rot.
Step 2: Allowing the Leaf to Callus
Let the Leaf Dry: Place the detached leaf on a clean, dry surface in a shaded area for 3 to 7 days. This drying period allows the cut end of the leaf to callus over, which is crucial for preventing rot when the leaf is planted.
Monitor the Environment: Ensure that the leaf is not exposed to direct sunlight during this period, as this can cause it to dry out too quickly.
Step 3: Planting the Callused Leaf
Prepare the Soil: Use a well-draining soil mix, specifically formulated for succulents and cacti. You can also create your own mix by combining potting soil with sand or perlite to improve drainage.
Plant the Leaf: Once the leaf has callused, place it on top of the soil mix. You can either lay it flat on the surface or lightly press the cut end into the soil. Avoid burying the leaf completely, as it needs light to encourage root formation.
Water Sparingly: After planting, mist the soil lightly to settle it around the leaf. Overwatering can lead to rot, so it’s essential to keep the soil slightly moist but not soggy.
Step 4: Providing the Right Conditions
Light Requirements: Place the planted leaf in a bright location with indirect sunlight. Too much direct sunlight can scorch the leaf, while too little light will hinder growth.
Temperature and Humidity: Succulents thrive in warm temperatures (ideally between 70°F and 80°F) and moderate humidity. Avoid placing the leaf in overly humid environments, as this can promote fungal growth.
Patience is Key: It can take several weeks for roots to develop and new growth to appear. During this time, monitor the leaf for signs of growth, such as the formation of tiny plantlets at the base.
Step 5: Caring for the New Plant
Watering: Once you see new growth, gradually increase the watering frequency. Allow the soil to dry out completely between waterings, as succulents prefer dry conditions.
Transplanting: When the new plantlet reaches a few inches in height and has developed a strong root system, it can be carefully transplanted into its own pot. Use a well-draining soil mix and ensure that the new pot has drainage holes.
Continued Care: After transplanting, continue to provide bright, indirect light and water sparingly. As the plant matures, you can adjust your care routine based on its specific needs.
Best Practices for Success
Use Clean Tools: Always use sterilized tools when handling succulents to prevent the spread of disease. Clean scissors or knives with rubbing alcohol before making cuts.
Choose the Right Time: The best time to propagate succulents from leaves is during the growing season, which is typically spring and summer. During this time, succulents are more likely to root successfully.
Monitor for Pests: Keep an eye out for pests such as mealybugs or aphids. If you notice any, treat the affected plants with insecticidal soap or neem oil.
Avoid Overwatering: Overwatering is the most common mistake in succulent propagation. Always allow the soil to dry out between waterings, and ensure that the leaf is not sitting in water.
Troubleshooting Common Issues
Rotting Leaves
Cause: Overwatering or insufficient callusing.
Solution: Ensure that the leaf has dried adequately before planting and that you are not watering too frequently. If a leaf starts to rot, remove it immediately to prevent spreading to other plants.
Lack of Growth
Cause: Insufficient light or poor soil conditions.
Solution: Move the leaf to a brighter location with indirect sunlight and ensure you are using a well-draining soil mix.
Fungal Issues
Cause: Excess humidity or overwatering.
Solution: Reduce watering frequency and improve air circulation around the leaf. If fungal growth appears, remove the affected leaf and treat the remaining plants with a fungicide if necessary.
Conclusion
Regrowing succulents from leaves is a rewarding and accessible way to expand your plant collection. By following the steps outlined in this guide, you can successfully propagate your favorite succulent varieties and enjoy the satisfaction of nurturing new plants from cuttings. Remember to be patient, monitor your plants closely, and adjust your care practices as needed. With time and attention, you’ll witness the incredible resilience and beauty of succulents as they grow and thrive.
Related topic:


