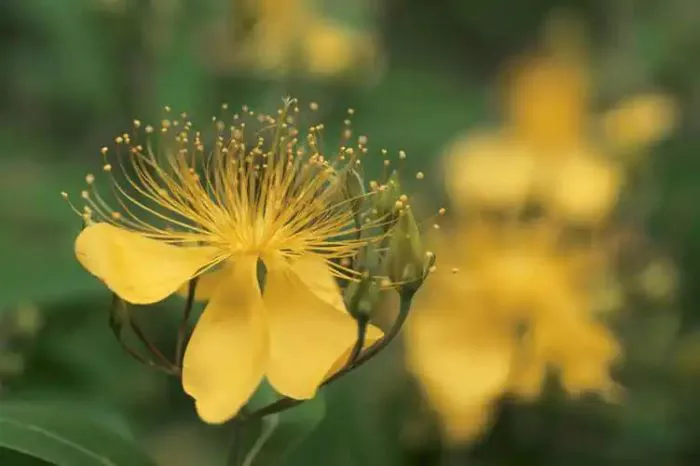
Dried flowers are a beautiful and timeless way to add a natural touch to paper crafts, such as greeting cards, scrapbooks, and wall art. The delicate beauty of dried flowers can enhance any project and create a unique piece of art. Knowing how to properly adhere dried flowers to paper is essential for preserving their appearance and ensuring that they last. This article will guide you through the process of sticking dried flowers to paper, providing detailed instructions, tips, and techniques for achieving the best results.
Selecting Dried Flowers
Before you begin, it is important to choose the right dried flowers for your project. Consider the following factors when selecting flowers:
Type of Flowers: Some flowers retain their shape and color better than others when dried. Popular choices include lavender, roses, daisies, and statice. These flowers not only look beautiful but also dry well.
Size and Shape: Consider the scale of your project. Larger flowers can serve as focal points, while smaller flowers can be used for accents. Think about how the flowers will complement the paper and overall design.
Color: Choose flowers that match or contrast with the color of your paper. This will enhance the visual appeal of your project.
Once you have selected your dried flowers, prepare them for use. If they are not already dried, you can dry them using various methods, such as air drying, pressing, or using silica gel.
Materials Needed
To stick dried flowers to paper, gather the following materials:
Dried Flowers: Choose your preferred dried flowers.
Paper: Select the type of paper you want to use, such as cardstock, scrapbook paper, or watercolor paper.
Adhesive: Several types of adhesive work well for attaching dried flowers to paper. Options include:
Glue Stick: A glue stick is easy to use and provides a smooth application.
Liquid Glue: White school glue or craft glue can be used but may require careful application to avoid excess.
Double-Sided Tape: This is a clean and easy option for adhering flowers without mess.
Hot Glue Gun: A hot glue gun provides a strong bond but requires caution to avoid burns.
Scissors: Use scissors to trim the stems or any excess foliage from the dried flowers.
Tweezers: Tweezers can help position small flowers or delicate pieces accurately.
Paper Towels or Wax Paper: These can be used to protect your workspace and absorb any excess glue.
Preparing the Flowers
Before adhering the flowers to paper, prepare them properly:
Trim the Stems: Use scissors to cut the stems of the dried flowers to your desired length. Keep the stems short if you want a more delicate look.
Remove Excess Foliage: If there are leaves or other parts that do not fit your design, remove them carefully.
Arrange the Flowers: Lay out your dried flowers on the paper without attaching them first. This allows you to experiment with placement and design. Consider the balance and composition of your arrangement.
Adhering Dried Flowers to Paper
Once you have arranged your dried flowers, it is time to adhere them to the paper. Follow these steps for a successful application:
Choose Your Adhesive: Depending on your preference, select the adhesive you want to use. For beginners, a glue stick or double-sided tape is often the easiest option.
Apply the Adhesive: If using a glue stick, apply a generous amount to the back of the flower. For liquid glue, use a small amount to avoid excess. If using double-sided tape, place strips on the back of the flower.
Position the Flower: Carefully place the flower on the paper in your desired location. If using tweezers, gently hold the flower in place while you position it.
Press Firmly: Once the flower is in place, press down firmly to ensure a good bond. Hold it for a few seconds to allow the adhesive to set.
Repeat the Process: Continue attaching the remaining flowers, following the same steps. Make sure to leave enough space between flowers for a balanced look.
Allow to Dry: If you used liquid glue, allow the project to dry completely before moving it. This may take several hours, depending on the type of glue used.
Additional Techniques
To enhance your project further, consider these additional techniques:
Layering: For added depth, layer different flowers or foliage. Use smaller flowers in front of larger ones to create a three-dimensional effect.
Adding Accents: Incorporate other materials, such as ribbons, buttons, or decorative paper, to complement the dried flowers.
Framing: If you want to display your work, consider framing it under glass. This will protect the flowers and keep them looking fresh.
Using Mod Podge: For a more permanent bond, you can use Mod Podge. Apply a thin layer over the flowers after they are attached to seal them. This will also give a glossy finish.
Caring for Your Dried Flower Project
To ensure that your dried flower project lasts, follow these care tips:
Avoid Direct Sunlight: Keep your project out of direct sunlight to prevent fading.
Handle with Care: Dried flowers are fragile. Handle your project gently to avoid breaking or damaging the flowers.
Dust Regularly: Use a soft brush or a gentle cloth to dust your project occasionally. This will help maintain its appearance.
Conclusion
Sticking dried flowers to paper is a rewarding and creative process. By selecting the right flowers, using appropriate adhesives, and following careful techniques, you can create beautiful and lasting paper crafts. Whether you are making greeting cards, scrapbook pages, or wall art, dried flowers add a unique and personal touch to your projects. With practice and creativity, you can develop your own style and techniques, making each piece a reflection of your artistic vision. Enjoy the process and let your creativity bloom.


