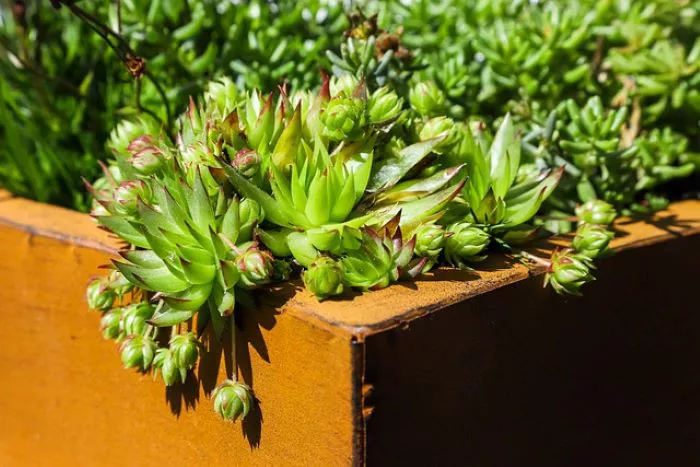
Succulents are popular for their unique beauty and low maintenance requirements. They can be easily propagated from cuttings, which makes them an excellent choice for gardeners and plant enthusiasts. Caring for succulent clippings is essential to ensure successful rooting and growth. This article will guide you through the process of caring for succulent clippings, from preparation to planting and ongoing care.
Understanding Succulent Clippings
Succulent clippings are sections of a succulent plant that can be cut and used to grow new plants. This method of propagation is simple and effective. Many types of succulents can be propagated this way, including Echeveria, Sedum, and Jade plants. When taken correctly, clippings can develop roots and grow into healthy new plants.
Preparing Succulent Clippings
The first step in caring for succulent clippings is to prepare them properly. Start by selecting a healthy parent plant. Look for a plant that shows no signs of disease or pests. Use clean, sharp scissors or pruning shears to take your clippings. Cut a stem or leaf from the parent plant. If you are taking a stem cutting, make the cut just below a leaf node, as this is where new roots will emerge.
After cutting, allow the clippings to dry for a few days. Place them in a warm, dry location out of direct sunlight. This drying period, known as callousing, helps prevent rot when the clippings are eventually planted. The cut ends will form a protective layer, which is essential for the health of the new plants.
Choosing the Right Soil
Selecting the right soil is crucial for the success of succulent clippings. Succulents require well-draining soil to thrive. A commercial cactus mix is an excellent option, as it is specifically designed for succulents. Alternatively, you can create your own mix by combining regular potting soil with perlite or sand. A good ratio is two parts potting soil to one part perlite or sand. This mixture will provide aeration and drainage, preventing water from accumulating around the roots.
Planting Succulent Clippings
Once the clippings have calloused, it is time to plant them. Start by filling a small pot with your chosen soil mix. Ensure the pot has drainage holes to allow excess water to escape. Make a small hole in the soil with your finger or a pencil. Place the calloused end of the clipping into the hole and gently press the soil around it to secure it in place.
If you are planting leaf cuttings, lay them flat on the soil surface without burying them. The leaf will develop roots from its base over time. After planting, do not water immediately. Allow the soil to settle and dry out for a few days to prevent rot.
Watering Succulent Clippings
Watering succulent clippings requires careful attention. After the initial planting, wait about a week before watering. This allows the cut ends to heal and reduces the risk of rot. When you do water, do so lightly. Use a spray bottle or a watering can with a fine spout to moisten the soil without saturating it.
As the clippings begin to root and grow, you can gradually increase the frequency of watering. A general rule is to water when the soil feels dry to the touch. Succulents prefer to be on the dry side rather than overly moist. Overwatering is a common mistake that can lead to root rot and other issues.
Providing the Right Environment
Creating the right environment for succulent clippings is essential for successful growth. Place the pots in a location that receives bright, indirect sunlight. Direct sunlight can be too harsh for newly planted clippings and may cause them to scorch. A south or east-facing windowsill is often ideal.
If you live in a particularly hot climate, consider providing some shade during the hottest part of the day. You can also use a grow light if natural light is limited. Maintain a warm temperature, ideally between 65°F and 80°F (18°C to 27°C), to encourage healthy growth.
Monitoring Growth and Health
As your succulent clippings begin to grow, monitor their health closely. Look for signs of new growth, such as small leaves or roots emerging from the soil. Healthy clippings will develop firm leaves and vibrant colors. If you notice any signs of wilting, yellowing, or mushiness, this may indicate overwatering or poor drainage.
If your clippings are not growing as expected, check the soil moisture and lighting conditions. Adjust these factors as needed to create a more suitable environment for your plants.
Transplanting New Succulents
Once your succulent clippings have developed a strong root system and show signs of healthy growth, it may be time to transplant them into larger pots. This usually occurs several weeks to a few months after planting, depending on the type of succulent and growing conditions.
To transplant, gently remove the young succulent from its pot. Be careful not to damage the roots. Prepare a new pot with fresh, well-draining soil. Place the young succulent in the new pot and fill in around it with soil. Water lightly after transplanting, and continue to care for the plant as it grows.
Conclusion
Caring for succulent clippings is a rewarding process that allows you to expand your collection and enjoy the beauty of these unique plants. By following the steps outlined in this article, you can successfully propagate and nurture succulent clippings. With patience and proper care, your clippings will grow into healthy, thriving plants that can be enjoyed for years to come. Whether you are a beginner or an experienced gardener, propagating succulents is a fulfilling activity that enhances your gardening experience.


