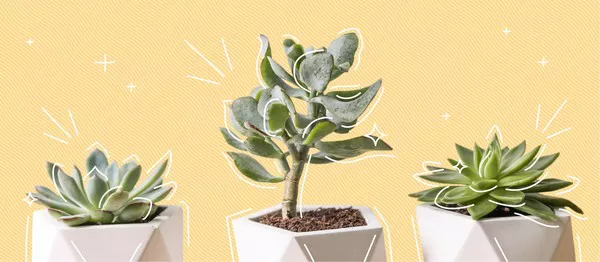
Transplanting small succulents is an essential skill for any succulent enthusiast, whether you’re expanding your collection, refreshing a pot-bound plant, or simply seeking to optimize their growth. However, this delicate process requires careful consideration of various factors to ensure the health and vitality of your succulents. In this guide, we’ll explore the intricacies of transplanting small succulents, covering topics such as choosing the right time, preparing the succulents and new container, the actual transplanting process, and post-transplant care.
Selecting the Optimal Time for Transplanting
Timing is crucial when it comes to transplanting small succulents. To maximize their chances of successful establishment, choose the right time for this procedure.
1. Spring or Early Summer
The ideal time for transplanting most succulents is during their active growing season, which typically occurs in spring or early summer. This ensures that they have sufficient energy and time to recover from the transplant shock and establish new roots before the dormant period or winter arrives.
2. Avoiding Extreme Temperatures
Steer clear of transplanting during periods of extreme heat or cold. High temperatures can stress the plants further, while cold temperatures can impede root development. Aim for mild weather conditions to provide a comfortable environment for the succulents.
Preparing the Succulents and New Container
Proper preparation is the foundation of a successful transplant. Taking steps to ensure that your succulents and new container are ready for the transition is essential.
1. Watering
Water the succulents a few days before transplanting. Moist soil makes it easier to remove them from their current container while minimizing root damage.
2. Choosing the Right Container
Select a new container that is slightly larger than the current one. Ensure the container has drainage holes to prevent waterlogged soil, which can lead to root rot. Terra cotta pots are a popular choice due to their porous nature, allowing for better air circulation and water drainage.
3. Preparing the New Soil
Use a well-draining succulent or cactus potting mix or create your own by amending regular potting soil with sand or perlite. This ensures the soil won’t hold excess moisture, a primary concern for succulents.
The Transplanting Process
Transplanting small succulents requires precision and care to minimize stress on the plants and ensure successful relocation.
1. Gently Removing the Succulents
To avoid damaging the roots, carefully loosen the soil around the succulent’s base using a thin tool like a bamboo skewer or a spoon. Tilt the pot and tap its sides to encourage the succulent to slide out.
2. Inspecting and Pruning Roots
Examine the roots for any signs of damage, rot, or pests. Trim away any unhealthy or excessively long roots with clean, sterilized pruning shears. Cutting back the roots slightly can encourage new growth and prevent root-bound plants.
3. Placing in the New Container
Add a layer of fresh potting mix to the new container. Create a small indentation in the center and gently place the succulent in it. Position the plant at the same depth it was in the original container.
4. Filling and Settling
Gently fill in the space around the succulent with additional potting mix, ensuring there are no air pockets. Lightly press down on the soil to help settle it.
5. Allowing for Recovery
After transplanting, avoid watering the succulent for the first week. This allows any wounds or damaged roots to heal and prevents the risk of overwatering during the critical recovery period.
Post-Transplant Care and Maintenance
Transplanting is just the beginning; providing proper care in the days and weeks following the procedure is essential for the success of your small succulents.
1. Gradual Sun Exposure
Place the newly transplanted succulent in a location with filtered sunlight or partial shade for the first week or two. Gradually introduce it to more direct sunlight to prevent sunburn.
2. Initial Watering
After the initial week of recovery, give the succulent a light watering. Be cautious not to overwater, as the plant’s reduced root system may not be able to absorb excess moisture effectively.
3. Regular Watering Routine
Resume a regular watering routine, adhering to the “soak and dry” method. Water the plant thoroughly and allow the soil to dry out completely before the next watering.
4. Avoid Fertilization Initially
Hold off on fertilizing your transplanted succulent for the first few weeks. The plant needs time to acclimate to its new environment before being introduced to additional nutrients.
5. Monitor and Adjust
Keep a close eye on your transplanted succulents. Watch for signs of stress, such as wilting or drooping leaves. Adjust their care routine accordingly to ensure they are adapting well.
Conclusion
Transplanting small succulents is an art that demands careful planning, execution, and follow-up care. By selecting the right time, preparing the succulents and new container thoughtfully, mastering the transplanting process itself, and providing appropriate post-transplant care, you can ensure the health and longevity of your beloved succulent plants. Remember that each plant may react differently to transplantation, so attentive observation and adjustments to your care routine are essential for achieving the best results. With these guidelines, you’ll be well-equipped to undertake successful transplantations and watch your small succulents flourish in their new homes.


