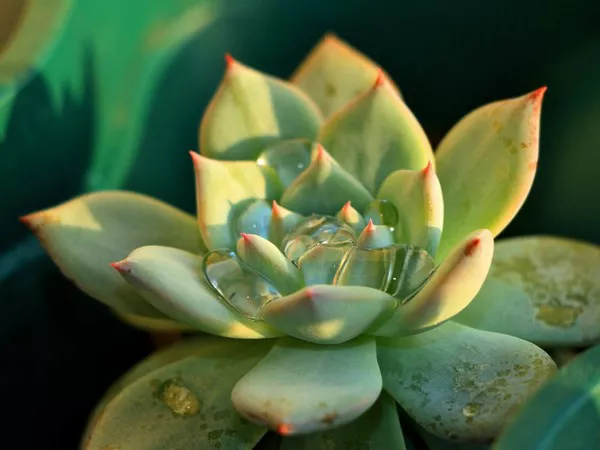
Succulents have gained immense popularity in recent years, and it’s no surprise why. These hardy and visually appealing plants can thrive in various conditions, making them an excellent choice for both seasoned gardeners and beginners. However, like any other plant, succulents require proper care and maintenance, and one essential aspect of their care is repotting.
Why Repotting Succulents is Crucial
Repotting is a vital aspect of succulent care that often gets overlooked. These plants, known for their fleshy leaves and water-retention abilities, require occasional repotting for several reasons:
Refreshed Nutrient Supply: Over time, the soil in the succulent’s pot may become depleted of nutrients. Repotting provides an opportunity to replenish the soil, ensuring that your succulent has access to the essential elements it needs to thrive.
Root Maintenance: As succulents grow, their root systems may become cramped in their current pots. Repotting allows for the inspection and, if necessary, pruning of roots to promote healthier growth.
Improved Drainage: Proper drainage is crucial for succulents as they are prone to root rot if they sit in waterlogged soil for extended periods. Repotting enables you to ensure that the potting mix and container have adequate drainage.
Pest and Disease Prevention: Inspecting the roots and soil during repotting can help identify and address any pest infestations or signs of disease early, preventing potential issues from spreading.
Process of repotting succulents
Step 1: Gather Your Materials
Before you begin the repotting process, it’s essential to gather all the necessary materials. You’ll need:
Succulent(s): The star of the show, of course! Choose succulents that have outgrown their current pots or show signs of distress.
New Pot: Select a pot that is only slightly larger than the current one, as succulents prefer snug spaces. Ensure the pot has drainage holes to prevent overwatering.
Potting Mix: Use a well-draining succulent or cactus mix, or create your own mix by combining potting soil with perlite or coarse sand.
Trowel or Stick: These tools will help you gently remove the succulent from its current pot and work the soil.
Gloves: To protect your hands from spines, thorns, or any irritants that may be present.
Optional: Grit or Gravel: Adding a layer of grit or gravel at the bottom of the new pot can further improve drainage.
Step 2: Prepare the New Pot
Before transferring your succulent, prepare the new pot. Start by adding a layer of grit or gravel at the bottom to enhance drainage. Then, fill the pot with the succulent potting mix, leaving enough space at the top to accommodate the succulent’s root ball.
Step 3: Remove the Succulent from Its Current Pot
Carefully remove the succulent from its current pot. To do this:
Gently squeeze the sides of the pot to loosen the soil.
Tip the pot sideways and, supporting the succulent’s base, slide it out.
If the plant doesn’t come out easily, use a trowel or stick to loosen the soil around the edges. Be cautious not to damage the roots.
Step 4: Inspect and Trim the Roots
Once the succulent is out of its pot, inspect its roots. Look for any signs of rot or damage, such as brown or mushy roots. Healthy roots should be firm, white, or light-colored. If you notice any unhealthy roots, trim them using clean, sharp scissors or pruning shears.
Step 5: Repot the Succulent
Place the succulent in the center of the new pot and fill in the gaps with fresh potting mix. Gently pat down the soil to secure the plant and eliminate air pockets. Ensure that the top of the succulent’s root ball is level with the rim of the new pot.
Step 6: Allow the Succulent to Settle
After repotting, it’s essential to let the succulent settle into its new home. Avoid watering for a few days to allow any root damage to heal and reduce the risk of overwatering.
Step 7: Water Sparingly
Succulents are known for their ability to store water, so they don’t need frequent watering. Water sparingly and ensure that excess water can drain freely from the pot. Wait until the soil is completely dry before watering again, typically every 2-4 weeks, depending on environmental conditions.
Step 8: Provide Adequate Light
Succulents thrive in bright, indirect sunlight. Place your newly repotted succulent in a location that receives ample light, but avoid direct sunlight, which can scorch the leaves.
Step 9: Fertilize with Caution
While repotting provides fresh nutrients, you can also supplement your succulent’s diet with a balanced, diluted fertilizer during the growing season (spring and summer). Be sure not to over-fertilize, as succulents are sensitive to excess nutrients.
Step 10: Monitor and Enjoy
Regularly monitor your repotted succulent for signs of health and growth. As it acclimates to its new home, you should notice improved vitality, vibrant colors, and, potentially, new growth.
Conclusion
Repotting succulents is a vital part of their care routine, ensuring that they continue to thrive and delight with their unique beauty. By following these steps and paying attention to the needs of your succulents, you can enjoy a flourishing collection of these hardy plants for years to come. Remember, succulents are resilient, but they still rely on your care and attention to flourish. So, roll up your sleeves, gather your materials, and embark on the journey of repotting your beloved succulents to keep them happy and healthy.


