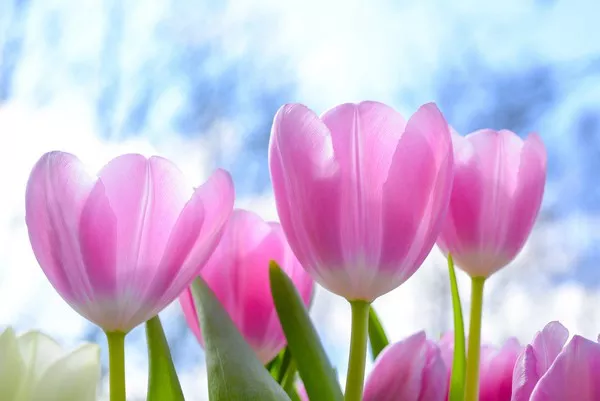
In today’s digital age, smartphones have become an integral part of our daily lives, not only serving as communication devices but also as fashion statements. With the growing popularity of customization and personalization, many individuals are seeking unique ways to make their phones stand out from the crowd. One such trend that has gained momentum is the DIY pressed flower phone case.
Why Pressed Flowers?
Pressed flowers have been used for centuries in various art forms, from botanical illustrations to decorative crafts. Their delicate beauty and timeless appeal make them an excellent choice for adding a touch of nature to everyday objects. Pressed flowers retain their color and shape, allowing you to preserve a piece of the natural world in a lasting and meaningful way.
Materials Needed
Before diving into the process, gather the necessary materials:
1. Phone Case: Choose a clear phone case to showcase the pressed flowers effectively. Alternatively, you can use a solid-colored case as a background for the flowers.
2. Assorted Flowers: Select a variety of flowers in different colors, shapes, and sizes. Choose flowers with thin petals that can be easily pressed without losing their natural form.
3. Blotting Paper or Newspaper: This will be used to absorb moisture from the flowers during the pressing process.
4. Heavy Books or Flower Press: You’ll need something heavy to press the flowers flat. Heavy books or a flower press are ideal for this purpose.
5. Tweezers: Tweezers will help handle delicate flowers without damaging them.
6. Clear Adhesive: Choose a clear adhesive that dries transparently to affix the pressed flowers to the phone case.
7. Scissors: Use scissors to trim stems and arrange flowers to fit the phone case.
Step-by-Step Guide
Now that you have all the necessary materials, follow these steps to create your DIY pressed flower phone case:
1. Gather and Prepare the Flowers: Start by picking fresh flowers from your garden or purchasing them from a florist. Choose flowers with vibrant colors and minimal blemishes. Trim the stems close to the base of the flowers using scissors.
2. Press the Flowers: Place the flowers between two sheets of blotting paper or newspaper, ensuring they are not overlapping. Place the paper with flowers inside a heavy book or flower press. Apply pressure by stacking more books or tightening the flower press. Leave the flowers pressed for 1-2 weeks to allow them to dry completely.
3. Arrange the Pressed Flowers: Once the flowers are fully dried and flattened, carefully remove them from the blotting paper using tweezers. Arrange the pressed flowers on the phone case in your desired design. Experiment with different layouts until you find one that you’re satisfied with.
4. Adhere the Flowers to the Case: Apply a small amount of clear adhesive to the back of each pressed flower using a toothpick or small brush. Press the flowers onto the phone case firmly but gently to ensure they adhere securely. Allow the adhesive to dry completely before handling the phone case.
5. Seal the Flowers (Optional): To provide extra protection and longevity to your pressed flower phone case, consider sealing the flowers with a clear sealant spray. Hold the spray can several inches away from the phone case and apply a light, even coat over the entire surface. Allow the sealant to dry according to the manufacturer’s instructions.
6. Enjoy Your Custom Creation: Once the adhesive and sealant (if used) are completely dry, your DIY pressed flower phone case is ready to use! Admire your unique creation and enjoy the beauty of nature every time you use your phone.
Tips and Tricks
- Experiment with different flower combinations and arrangements to create a truly personalized phone case.
- Consider adding other decorative elements such as leaves, ferns, or petals to enhance the overall design.
- Take your time during the pressing and arranging process to ensure the best results.
- Handle the pressed flowers with care to prevent them from crumbling or losing their shape.
- Store your pressed flower phone case away from direct sunlight to prevent fading over time.
Conclusion
Creating a DIY pressed flower phone case is not only a fun and creative project but also a wonderful way to incorporate nature into your everyday life. By following the steps outlined in this guide and unleashing your creativity, you can design a one-of-a-kind phone case that reflects your personality and style. Whether you’re a nature lover, a craft enthusiast, or simply someone looking for a unique accessory, a pressed flower phone case is sure to turn heads and spark conversation wherever you go.


