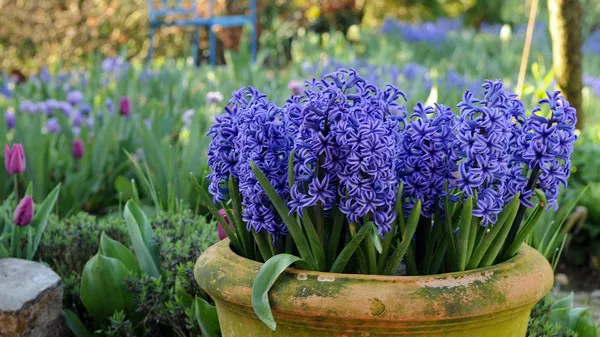
When it comes to adding a touch of elegance and charm to your living space, few things rival the beauty of a well-crafted flower pot. And what better way to express your creativity and personalize your home decor than by making your own flower pots with air dry clay? In this comprehensive guide, we’ll walk you through the process of creating stunning flower pots that will not only showcase your favorite blooms but also become eye-catching focal points in any room.
Choosing the Right Clay:
The first step in making a flower pot with air dry clay is selecting the right type of clay for your project. Air dry clay is a versatile and easy-to-use material that doesn’t require firing in a kiln, making it perfect for beginners and seasoned crafters alike. There are several types of air dry clay available on the market, including terracotta, white, and colored varieties. Consider the look and feel you want to achieve with your flower pot, as well as the type of plants you plan to pot, when choosing your clay.
Gathering Your Materials:
Once you’ve chosen your clay, gather the necessary materials for your project. In addition to the clay itself, you’ll need a few basic tools and supplies, including:
- Rolling pin or clay roller
- Cutting tool (such as a knife or clay cutter)
- Surface for rolling out clay (a smooth, clean surface works best)
- Texture tools (optional, for adding decorative elements)
- Paints or stains (optional, for decorating your finished pot)
Preparing Your Work Area:
Before you begin working with the clay, it’s important to prepare your work area to prevent messes and ensure a smooth crafting experience. Lay down a protective covering, such as wax paper or a plastic tablecloth, to protect your work surface from clay residue. Additionally, make sure your hands are clean and free of any oils or lotions that could transfer to the clay and affect its texture.
Step-by-Step Instructions:
Now that you’re ready to begin, follow these step-by-step instructions to create your own beautiful flower pot with air dry clay:
1. Prepare the Clay: Start by kneading the clay to soften it and make it more pliable. This will make it easier to work with and help prevent cracking as it dries. If the clay is too dry, you can moisten it slightly with water to improve its elasticity.
2. Roll Out the Clay: Use a rolling pin or clay roller to roll out the clay to your desired thickness. Aim for a thickness of around 1/4 to 1/2 inch, depending on the size and shape of your flower pot.
3. Cut Out the Shape: Once the clay is rolled out, use a cutting tool to cut out the shape of your flower pot. You can create a traditional cylindrical shape or get creative with unique designs such as geometric shapes or animal forms.
4. Add Texture (Optional): If you want to add texture to your flower pot, now is the time to do so. Use texture tools such as stamps, cookie cutters, or even natural objects like leaves or shells to create interesting patterns and designs on the surface of the clay.
5. Form the Pot: Carefully mold the clay into the shape of a flower pot, making sure to smooth out any creases or wrinkles as you work. You can use your hands or additional tools such as wooden dowels or shaping tools to help shape the clay as desired.
6. Create Drainage Holes (Optional): If you plan to use your flower pot for live plants, consider adding drainage holes to prevent water from accumulating at the bottom. You can use a pencil or skewer to poke several holes in the bottom of the pot before the clay dries.
7. Allow to Dry: Once you’re satisfied with the shape and design of your flower pot, set it aside to dry completely. Depending on the thickness of the clay and environmental conditions, this process can take anywhere from 24 to 48 hours or longer.
8. Decorate (Optional): Once the clay is fully dry, you can further personalize your flower pot by painting or staining it with your choice of colors and designs. Acrylic paints work well on air dry clay and can be sealed with a clear varnish for added protection.
9. Pot Your Plants: Once your flower pot is dry and decorated to your liking, it’s time to pot your plants! Fill the pot with potting soil and carefully transplant your favorite flowers or greenery into their new home. Be sure to water them regularly and provide adequate sunlight to keep them healthy and thriving.
Conclusion
Making your own flower pots with air dry clay is a fun and rewarding DIY project that allows you to unleash your creativity and add a personal touch to your home decor. By following the step-by-step instructions outlined in this guide, you can create stunning flower pots that will not only showcase your favorite plants but also become cherished pieces of art in their own right. So gather your materials, roll up your sleeves, and let your imagination run wild as you embark on your clay crafting adventure!


