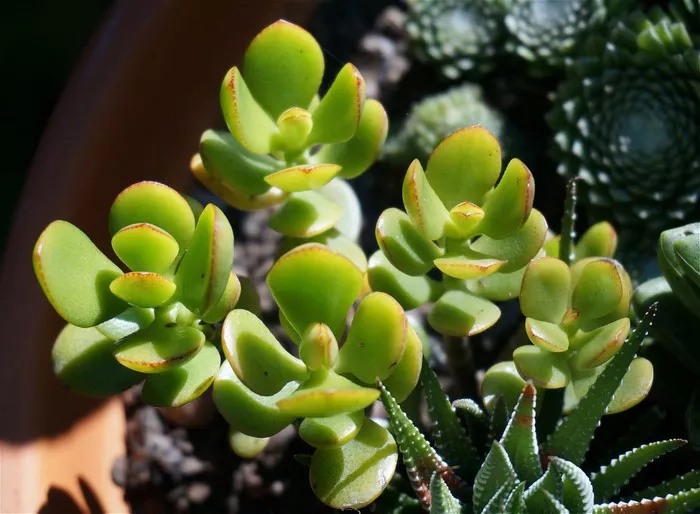
Repotting succulents is a crucial aspect of maintaining their health and promoting their growth. Whether you’re dealing with a plant that has outgrown its pot or needs a fresh start, repotting can rejuvenate your succulent and ensure it continues to thrive. This guide will walk you through the process step by step, offering tips and best practices to make the task as smooth as possible.
Understanding When to Repot a Succulent
Before you begin the repotting process, it’s essential to understand when your succulent needs a new pot. There are several signs that indicate it’s time for a change:
Root Overgrowth: If you notice roots emerging from the drainage holes at the bottom of the pot or circling the surface, your succulent is likely root-bound and needs a larger pot.
Stunted Growth: When a succulent’s growth slows down despite proper care, it could be due to a lack of space for the roots to expand.
Soil Degradation: Over time, the soil in the pot can become compacted or depleted of nutrients. Repotting provides an opportunity to refresh the soil.
Pest Infestation: If the soil or roots are infested with pests, repotting can help address the issue and prevent further damage.
Selecting the Right Pot and Soil
Choosing the right pot and soil is crucial for the health of your succulent. Here’s what you need to consider:
Pot Size: Select a pot that is 1-2 inches larger in diameter than the current pot. A pot that is too large can retain excess moisture, leading to root rot.
Pot Material: Terracotta pots are a popular choice for succulents because they are porous and allow excess moisture to evaporate. Plastic pots are also acceptable but ensure they have adequate drainage holes.
Soil Type: Use a well-draining soil mix specifically designed for succulents and cacti. This mix typically includes components like perlite, pumice, and sand, which help prevent waterlogging.
Preparing for Repotting
Proper preparation is key to a successful repotting process. Follow these steps to get ready:
Gather Supplies: You will need a new pot, fresh succulent soil mix, a small trowel or spoon, and, optionally, gloves and a watering can.
Watering: Water your succulent a few days before repotting. This will make it easier to remove the plant from its current pot and minimize root damage.
Workspace: Choose a clean, flat surface to work on. Cover it with newspaper or a cloth to catch any soil spills.
Step-by-Step Repotting Process
Follow these steps to repot your succulent effectively:
Remove the Succulent: Gently grasp the succulent by its base and carefully remove it from its current pot. If the plant is stuck, tap the sides of the pot or use a spoon to loosen the soil around the edges.
Examine the Roots: Check the root system for any signs of damage or rot. Healthy roots are firm and white, while damaged or rotting roots will appear dark and mushy. Trim away any unhealthy roots using sterilized scissors or pruning shears.
Prepare the New Pot: Place a layer of succulent soil mix in the bottom of the new pot. This helps with drainage and ensures the plant has a good foundation.
Position the Succulent: Place the succulent in the center of the new pot. Add more soil mix around the roots, gently pressing it down to eliminate air pockets. Make sure the plant is at the same level it was in the old pot.
Watering: After repotting, wait a few days before watering the succulent. This allows the roots to recover and reduces the risk of rot. When you do water, do so sparingly, allowing the soil to dry out completely between waterings.
Placement: Place the repotted succulent in a location with bright, indirect sunlight. Avoid direct sunlight for the first week, as the plant may need time to adjust to its new environment.
See also: How to Grow Succulents from Cuttings
Post-Repotting Care
Proper care after repotting is essential for helping your succulent acclimate to its new pot:
Monitor Watering: Adjust your watering routine based on the plant’s response. Succulents generally require less frequent watering than other plants.
Check for Pests: Keep an eye out for any signs of pests or diseases. Regularly inspect the leaves and soil for any issues.
Fertilizing: Avoid fertilizing the succulent immediately after repotting. Wait at least a month before applying a diluted succulent fertilizer to allow the plant to settle in.
Adjust Light: Gradually increase the amount of light exposure once the plant shows signs of adjustment. Ensure it receives the right balance of light to thrive.
Troubleshooting Common Issues
Even with the best care, problems can sometimes arise. Here’s how to address common issues:
Leggy Growth: If your succulent becomes leggy (stretched out), it may not be receiving enough light. Move it to a brighter location and ensure it gets adequate sunlight.
Leaf Drop: Excessive leaf drop can indicate overwatering or root rot. Adjust your watering routine and ensure the pot has good drainage.
Root Rot: If you notice signs of root rot, such as a foul smell or mushy roots, trim the affected roots and repot the plant in fresh soil. Ensure the new pot has good drainage.
Conclusion
Repotting a succulent is a straightforward process that can significantly impact the plant’s health and growth. By following these steps and paying attention to your succulent’s needs, you can ensure a successful transition to a new pot and keep your plant thriving for years to come. Remember to select the right pot and soil, handle the plant with care, and provide the appropriate post-repotting care. With these tips, you’ll be well on your way to maintaining a beautiful and healthy succulent garden.


