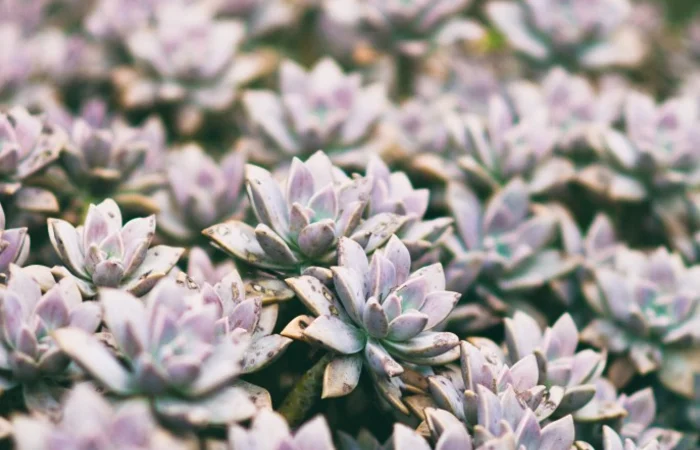
Succulents are a type of plant known for their ability to store water in their leaves, stems, and roots. These plants are popular for their unique shapes and colors and are often used in home decor and landscaping. Clay succulents are a fun and easy DIY project that can be used to decorate your home or garden. In this article, we will provide a step-by-step guide on how to make clay succulents.
Materials
- Polymer clay in various colors Clay tools (rolling pin, sculpting tools, etc.)
- Small flower pots or containers
- Potting soil
- Small rocks or pebbles
Instructions
Choose your colors
When making clay succulents, it’s important to choose colors that are similar to those found in real succulents. This will help give your clay succulents a more realistic look. You can use any colors you like, but it’s best to choose colors that are muted and not too bright.
Condition the clay
Polymer clay needs to be conditioned before it can be used. This involves kneading the clay in your hands until it is soft and pliable. This will make it easier to work with and mold. If your clay is too hard, you can soften it by warming it up in your hands or using a clay softener.
Roll out the clay
Using a rolling pin, roll out the clay to a thickness of about 1/4 inch. You can use a ruler or other straight edge to help you achieve an even thickness. It’s important to roll out the clay evenly so that your succulents will be the same thickness throughout.
Cut out the shapes
Using a sharp knife or clay cutter, cut out the shapes for your succulents. You can make a variety of shapes, such as leaves, petals, and rosettes. It’s important to cut out the shapes carefully so that they are clean and smooth.
Texture the clay
To give your clay succulents a more realistic look, you can texture the clay using sculpting tools or other objects. You can create lines, dots, and other patterns to mimic the texture of real succulents. This will help give your clay succulents a more natural and organic look.
Assemble the succulents
Once you have cut out and textured the clay, you can start assembling your succulents. Layer the different shapes on top of each other, using a small amount of water or clay glue to help the pieces stick together. It’s important to assemble the succulents carefully so that they look realistic and well-proportioned.
Bake the clay
Bake the clay succulents according to the instructions on the package. Most polymer clay can be baked in a home oven at 275°F for 15-20 minutes. It’s important to bake the clay succulents carefully so that they don’t crack or break during the baking process.
Plant the succulents
Once the clay succulents have cooled, you can plant them in small flower pots or containers filled with potting soil. Add small rocks or pebbles around the base of the succulents to mimic the look of real succulent plants. It’s important to plant the succulents carefully so that they are well-supported and won’t tip over.
Conclusion
Making clay succulents is a fun and rewarding DIY project that anyone can enjoy. With a few simple materials and some creativity, you can create beautiful and unique succulent plants that will last for years to come. Whether you’re a seasoned crafter or a beginner, making clay succulents is a great way to express your creativity and add a touch of nature to your home or garden.
Related topics:


