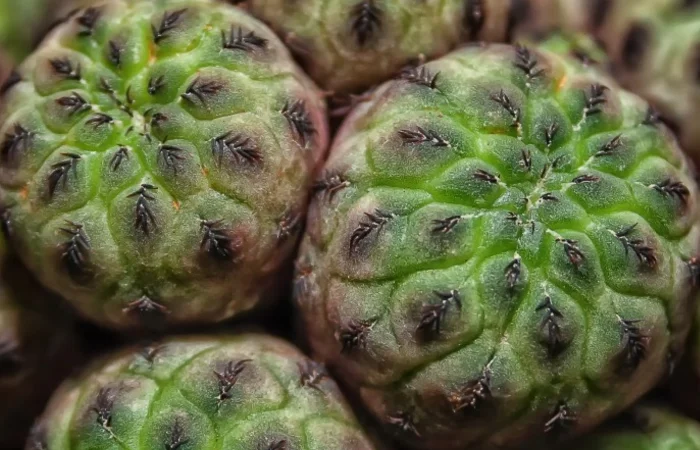
Succulents are beautiful and low-maintenance plants that can add a touch of greenery to any space. Planting a succulent in a mug is a fun and creative way to display these unique plants. Here’s a step-by-step guide on how to plant a succulent in a mug.
Materials You’ll Need
A mug: Choose a mug that is clean and free of cracks. You can use a ceramic mug, a glass mug, or even a novelty mug. Just make sure it has a drainage hole or you can create one.
Succulent: Select a succulent that you like. There are many different types of succulents available, so choose one that will fit well in your mug and match your decor.
Potting soil: Use a well-draining potting soil specifically designed for succulents. Avoid using regular potting soil as it may hold too much moisture and cause the succulent to rot.
Gravel or sand: This will be used for drainage at the bottom of the mug.
Tweezers or small gardening tools: These will be helpful for handling the succulent and arranging the soil.
Preparing the Mug
If your mug does not have a drainage hole, you can create one using a drill or a hammer and nail. Be very careful when doing this to avoid breaking the mug. Make sure the hole is large enough to allow excess water to drain out.
Wash the mug thoroughly with soap and water to remove any dirt or debris. Let it dry completely before proceeding.
Adding Drainage
Place a layer of gravel or sand at the bottom of the mug. This will help with drainage and prevent the roots of the succulent from sitting in water.
The layer of gravel or sand should be about 1/4 to 1/2 inch thick.
Adding Potting Soil
Fill the mug about three-quarters full with potting soil. Use a spoon or your hands to gently pack the soil down.
Make sure the soil is level and not too compacted. You want the roots of the succulent to have room to breathe.
Planting the Succulent
Gently remove the succulent from its original container. Be careful not to damage the roots.
Use tweezers or small gardening tools to place the succulent in the center of the mug. Make sure the roots are spread out and not bunched up.
Add more potting soil around the succulent, filling in any gaps and covering the roots. Gently press down on the soil to secure the succulent in place.
Finishing Touches
If desired, you can add some decorative elements to the mug, such as small stones, shells, or miniature figurines. These can add a personal touch and make your succulent arrangement even more charming.
Water the succulent sparingly. Succulents do not like to be overwatered, so only give them a small amount of water when the soil is completely dry.
Place the mug in a bright location, but not in direct sunlight. Succulents need sunlight to grow, but too much direct sunlight can burn their leaves.
Caring for Your Succulent in a Mug
Watering: As mentioned earlier, succulents do not need a lot of water. Water your succulent only when the soil is completely dry. You can stick your finger into the soil to check if it is dry. If it feels moist, do not water.
Sunlight: Succulents need bright, indirect sunlight. Place your mug in a location where it will receive at least a few hours of sunlight each day. Avoid placing it in direct sunlight for extended periods as this can cause the leaves to burn.
Fertilizing: Succulents do not need a lot of fertilizer. You can fertilize your succulent once or twice a year with a diluted succulent fertilizer. Follow the instructions on the fertilizer package carefully.
Pruning: If your succulent starts to outgrow the mug or becomes leggy, you can trim it back. Use clean, sharp scissors or pruning shears to make clean cuts. Remove any dead or damaged leaves as well.
Conclusion
planting a succulent in a mug is a simple and enjoyable project that can bring a touch of nature to your home or office. With a little care and attention, your succulent will thrive in its new mug home.


