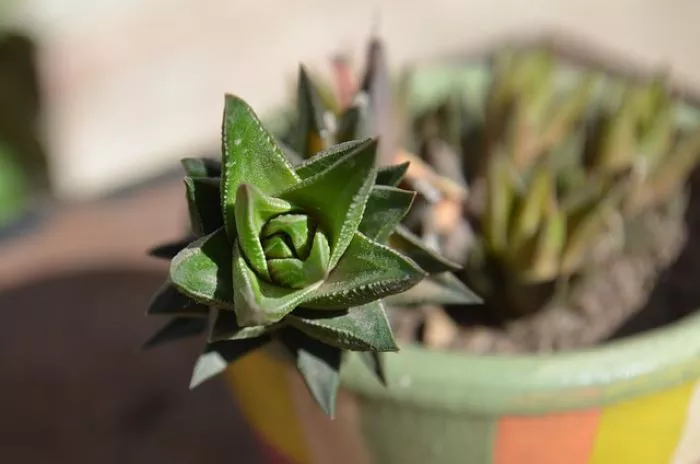
Succulents are beloved for their unique shapes and vibrant colors. Drying succulents is a popular way to preserve their beauty and create lasting decorations. Dried succulents can be used in arrangements, wreaths, and other crafts. This article will provide a professional guide on how to dry succulents effectively. It will cover the methods of drying, the best types of succulents to use, and tips for successful drying.
Understanding the Drying Process
Drying succulents involves removing moisture from the plant while preserving its shape and color. This process can be beneficial for both aesthetic and practical purposes. Dried succulents can last for months or even years, making them ideal for home decor and crafts. The drying process can vary depending on the method used and the type of succulent.
Choosing the Right Succulents
Not all succulents are equally suitable for drying. When selecting succulents for drying, consider the following factors:
Firmness: Choose healthy and firm succulents. Avoid any that are wilted or damaged. The best succulents for drying include Echeveria, Sedum, and Crassula. These types hold their shape well during the drying process.
Size: Smaller succulents or individual leaves are often easier to dry than larger plants. Consider using cuttings from larger succulents to create smaller, manageable pieces.
Color: Brightly colored succulents tend to dry well and retain their vibrant hues. Consider using varieties with rich colors for more visually appealing results.
Methods for Drying Succulents
There are several methods for drying succulents. Each method has its advantages and may be more suitable for different types of succulents. Here are the most common methods:
Air Drying
Air drying is the simplest and most common method for drying succulents. It requires no special equipment and is suitable for most types of succulents. Follow these steps for air drying:
Prepare the Cuttings: Use clean, sharp scissors to cut the succulent stems or leaves. Make sure to cut at an angle to increase the surface area for drying.
Let Them Callus: Place the cuttings in a cool, dry location out of direct sunlight. Allow them to callus for a few days. This step helps prevent rot and prepares the cut ends for drying.
Arrange the Cuttings: Once callused, place the cuttings on a clean, dry surface. Use a wire rack, cardboard, or a paper towel. Ensure that the cuttings are not touching each other to allow for proper airflow.
Drying Time: Allow the cuttings to air dry for about two to three weeks. The drying time may vary depending on the humidity and temperature of the environment. Check periodically for dryness.
Using Silica Gel
Silica gel is a desiccant that absorbs moisture effectively. This method is excellent for preserving the shape and color of succulents. Here’s how to use silica gel for drying:
Prepare the Container: Choose a container with a tight-fitting lid. A shallow plastic or glass container works well.
Add Silica Gel: Pour a layer of silica gel into the bottom of the container. The layer should be about an inch thick.
Arrange the Cuttings: Place the succulent cuttings on top of the silica gel. Ensure they do not touch each other.
Cover with Silica Gel: Gently pour more silica gel over the cuttings until they are completely covered. Make sure there are no gaps.
Seal and Wait: Close the container tightly and leave it for about one to two weeks. After this time, carefully remove the cuttings and brush off any excess silica gel.
Using an Oven
Using an oven is a quick method for drying succulents. However, it requires careful monitoring to avoid overheating. Here’s how to dry succulents in an oven:
Preheat the Oven: Set the oven to the lowest temperature, usually between 150°F to 200°F (65°C to 93°C).
Prepare the Cuttings: Cut the succulents as described in the air drying method. Ensure they are healthy and firm.
Arrange on a Baking Sheet: Place the cuttings on a baking sheet lined with parchment paper. Make sure they are spaced apart for even drying.
Drying Process: Place the baking sheet in the oven. Keep the oven door slightly ajar to allow moisture to escape. Check the cuttings every 30 minutes. The drying process may take one to two hours.
Cool and Store: Once the cuttings are dry and brittle, remove them from the oven and let them cool completely. Store them in a cool, dry place.
Tips for Successful Drying
To ensure the best results when drying succulents, consider the following tips:
Avoid Direct Sunlight: When air drying, keep succulents out of direct sunlight. Sunlight can cause fading and uneven drying.
Monitor Humidity: High humidity can slow down the drying process. Choose a dry, well-ventilated area for air drying.
Handle with Care: Dried succulents can be fragile. Handle them gently to avoid breakage.
Store Properly: Once dried, store succulents in a cool, dry place. Use airtight containers or bags to protect them from moisture and dust.
Using Dried Succulents in Decor
Dried succulents can be used in various decorative arrangements. Consider the following ideas:
Wreaths: Create beautiful wreaths using dried succulents. Combine them with other dried flowers and foliage for a stunning centerpiece.
Terrariums: Use dried succulents in terrariums for a low-maintenance display. Pair them with decorative stones and sand for an appealing look.
Craft Projects: Incorporate dried succulents into craft projects, such as picture frames or wall art. Their unique textures and colors can add depth to your creations.
Conclusion
Drying succulents is a rewarding process that allows you to preserve their beauty for decorative purposes. By choosing the right succulents and using effective drying methods, you can create stunning arrangements that last for years. Whether you opt for air drying, silica gel, or oven drying, following the steps outlined in this article will help you achieve great results. With proper care and handling, dried succulents can enhance your home decor and provide a lasting reminder of their natural beauty.


