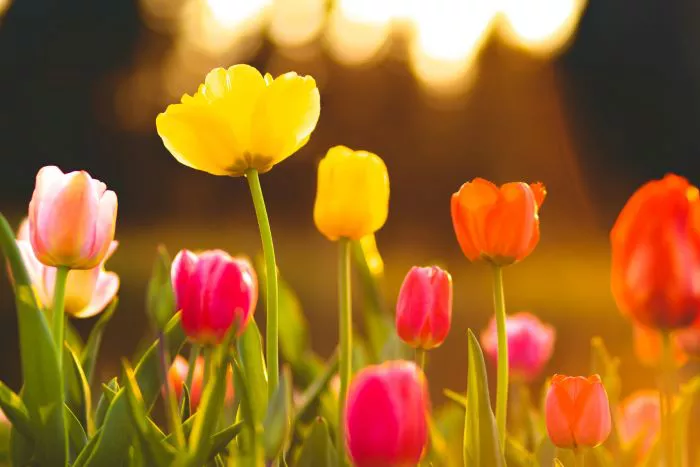
Creating paper flowers is a delightful craft that allows you to enjoy the beauty of blooms without the need for water or sunlight. Among the many flowers you can make, tulips are particularly popular due to their elegant shape and vibrant colors. This article provides a detailed, step-by-step guide on how to make a tulip flower using paper. This project is suitable for beginners and can be completed with simple materials.
Materials Needed
To create a paper tulip, you will need the following materials
- Colored paper or cardstock in your desired tulip colors
- Green paper or cardstock for the leaves and stem
- Scissors
- Glue or double-sided tape
- A pencil
- A ruler
- Floral wire or a wooden skewer for the stem (optional)
- A small round object or a circle punch for the flower base
Step 1 Preparing the Petals
Begin by preparing the petals for your tulip. You will need to cut out several petal shapes from your colored paper.
Start by drawing a petal shape on the colored paper. A tulip petal is typically oval or teardrop-shaped. Use a ruler to measure and ensure that your petals are uniform in size. A good size for each petal is around 4 to 5 inches long.
Cut out the petal shapes. You will need at least three to five petals for a full tulip. The more petals you use, the fuller your flower will appear.
Step 2 Shaping the Petals
Once you have cut out the petals, it is time to shape them.
To give the petals a more realistic look, gently curve the edges. You can do this by using your fingers to roll the edges inward or by placing the petal over a rounded object, like a pencil, and pressing down lightly.
This step adds dimension to your petals and makes them look more lifelike.
Step 3 Assembling the Flower
Now that your petals are shaped, it is time to assemble the tulip.
Take one petal and apply glue or double-sided tape along one side. Attach the second petal to the first, overlapping them slightly. Continue this process with the remaining petals, attaching them in a circular pattern until they form a complete flower shape.
Once all the petals are attached, hold them together for a few seconds to ensure they adhere well. You can also use a small piece of tape on the inside to secure them if needed.
Step 4 Creating the Flower Base
To give your tulip a finished look, you will need to create a base for the flower.
Using your colored paper, cut out a small circle, approximately 1 to 2 inches in diameter. This circle will serve as the base of your tulip, covering the area where the petals meet.
Glue the circle to the base of the petals, ensuring it holds all the petals together securely. This circle can also be colored green to represent the flower’s calyx.
Step 5 Making the Stem and Leaves
Now that the flower is complete, it is time to create the stem and leaves.
To make the stem, cut a strip of green paper or cardstock about 1 inch wide and 10 to 12 inches long. Roll this strip tightly to create a sturdy stem. Alternatively, you can use floral wire or a wooden skewer for added strength.
If using a paper stem, glue the rolled strip to the base of the flower. For a floral wire stem, insert the wire into the center of the flower base, securing it with glue.
Next, create leaves for your tulip. Cut out two leaf shapes from your green paper. Tulip leaves are long and pointed, resembling a teardrop shape.
Attach the leaves to the stem by gluing them at an angle, making sure they look natural and balanced.
Step 6 Final Touches
Once your tulip is assembled, take a moment to inspect it.
You can add additional details to enhance its appearance. Consider using markers or colored pencils to add veins to the leaves or texture to the petals.
If you want to create a bouquet, repeat the process to make more tulips in different colors. Arrange them in a vase or a decorative container for a beautiful display.
Conclusion
Making a paper tulip is a fun and rewarding craft that allows you to express your creativity. This step-by-step guide provides a simple method for creating beautiful tulip flowers using basic materials. By following these instructions, you can create stunning paper tulips that can brighten any space. Whether for decoration, gifts, or personal enjoyment, these paper flowers are a wonderful addition to your crafting repertoire. Enjoy the process and let your imagination flourish as you create your own unique tulip flowers.


