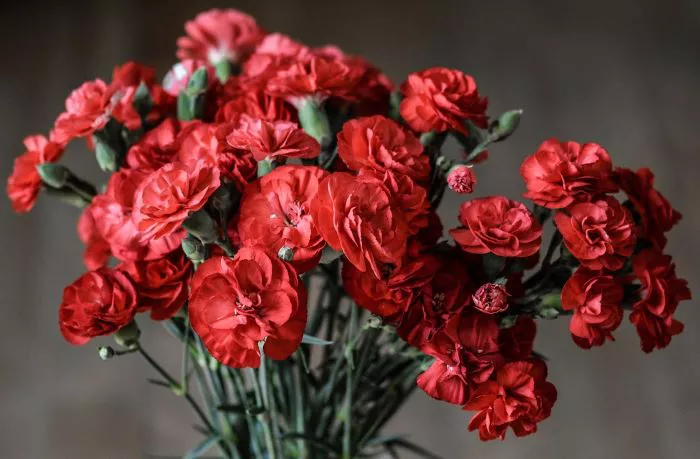
Creating paper carnation flowers is a delightful and rewarding craft. These flowers are known for their frilled petals and vibrant colors, making them popular for decorations, gifts, and special occasions. This guide will provide a step-by-step approach to making realistic paper carnations. You will learn about the materials needed, the crafting process, and tips for enhancing your finished flowers.
Materials Needed
To make paper carnations, gather the following materials:
- Colored paper or tissue paper in various shades (pink, red, white, or any color you prefer)
- Scissors
- Craft glue or a hot glue gun
- Floral wire or pipe cleaners
- Floral tape
- Pencil
- Ruler
- Optional: markers or paints for detailing
Having all your materials organized will help streamline the crafting process.
Step-by-Step Instructions
Prepare the Petals
Begin by cutting out the petals for your paper carnation. You will need several layers of petals to create a full flower.
Use a pencil to draw petal shapes on your colored paper. Carnation petals are typically rounded with a frilled edge. Each petal should be about 3 to 4 inches in diameter.
Cut out the petal shapes carefully. Aim for at least six to ten petals, depending on how full you want your flower to be.
Create the Fringed Edges
To give your petals the characteristic look of a carnation, you need to add texture.
Take each petal and use scissors to cut small fringes along the outer edge. Make cuts about half an inch deep and spaced evenly around the petal.
Be gentle with this step to avoid cutting the petal in half. The fringes will create the ruffled appearance that carnations are known for.
Shape the Petals
Once you have fringed the edges, it is time to shape the petals for a more realistic look.
Gently curl the edges of each petal using your fingers or a pencil. This will help the petals appear more natural and lifelike.
You can also slightly bend the center of each petal to create a cup shape, enhancing the overall dimension of the flower.
Assemble the Flower
Now it is time to put the petals together to form the flower.
Start with one petal as the base. Apply a small amount of glue to the bottom of the petal and attach a second petal, overlapping them slightly.
Continue adding petals one by one, gluing them in place and overlapping each layer. This will create a full, rounded flower.
Once all the petals are attached, adjust them as needed to ensure they are evenly spaced and look natural.
Create the Center of the Flower
The center of the carnation adds character and depth to your creation.
Cut a small circle or oval from a contrasting color of paper. This will serve as the base for the flower’s center.
You can create additional small fringed pieces from the same color paper to mimic the stamen. Glue these pieces around the center base.
Make the Stem and Leaves
To complete your paper carnation, you will need to add a stem and leaves.
Cut a piece of floral wire or a pipe cleaner to your desired length for the stem. This will provide support for your flower.
From green paper, cut out leaf shapes. Carnation leaves are typically elongated and smooth. Aim for a size of about 3 to 5 inches in length.
Attach the leaves to the floral wire using floral tape, wrapping it tightly to secure them in place.
Final Assembly
Combine the flower and stem to complete your paper carnation.
Insert the floral wire into the base of the flower. You may need to add glue to secure it properly.
Wrap the base of the flower with floral tape to create a seamless transition from the flower to the stem.
Optional Detailing
For added realism, consider enhancing your paper carnation with details.
Use markers or paints to add subtle shading to the petals. Lightly brush the edges with a darker shade to mimic the natural variations found in real carnations.
You can also add texture to the leaves by drawing veins or using a crumpling technique to create a more organic look.
Displaying Your Paper Carnation Flowers
Once your paper carnations are complete, they can be displayed in various ways. Here are some suggestions for showcasing your creations.
Place the flowers in a vase with other paper flowers for a stunning arrangement.
Use them as decorations for special occasions such as weddings, birthdays, or anniversaries.
Attach the flowers to gifts or use them as table centerpieces for a charming touch.
Conclusion
Making paper carnation flowers is a fun and creative project that allows you to enjoy the beauty of these blooms year-round. By following the steps outlined in this guide, you can create stunning paper flowers that showcase your crafting skills. Whether used for decoration or as thoughtful gifts, your paper carnations will bring joy and elegance to any setting. Enjoy the process and let your creativity shine as you craft your beautiful paper carnations.


