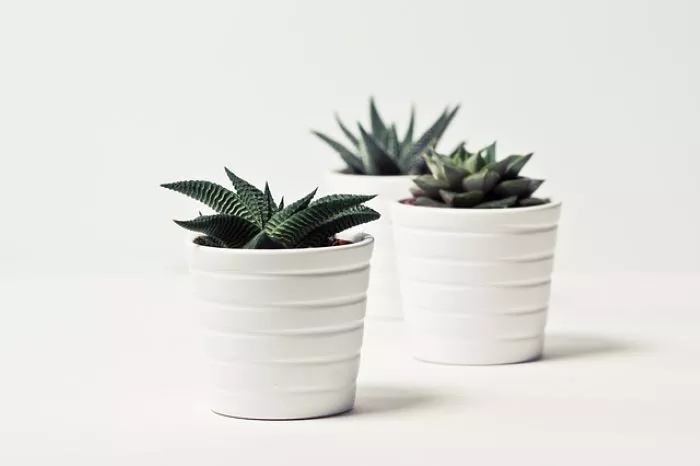
Repotting succulents is an essential part of their care that helps ensure their health and vitality. Many succulent enthusiasts enjoy the aesthetic appeal of grouping different varieties together in one pot. This article will guide you through the process of repotting succulents together, providing insights on preparation, techniques, and care after repotting.
Understanding the Need for Repotting
Succulents may need repotting for several reasons. They can outgrow their current containers, deplete the soil of nutrients, or develop root rot due to poor drainage. Repotting allows you to refresh the soil, provide more space for growth, and improve drainage. It is also an opportunity to create visually appealing arrangements with different succulent species.
Choosing the Right Container
When repotting succulents together, selecting the right container is crucial. Consider the following factors when choosing a pot.
Size
The pot should be slightly larger than the current one. This allows room for growth without overwhelming the plants. Avoid choosing a pot that is too large, as excess soil can retain moisture, leading to root rot.
Material
Terracotta pots are popular for succulents due to their porous nature, which allows for better airflow and drainage. Plastic pots are lightweight and retain moisture longer, which can be beneficial in certain situations. Choose a material that suits your watering habits and the needs of your plants.
Drainage
Ensure that the pot has adequate drainage holes. Proper drainage is essential for preventing waterlogged soil, which can harm succulent roots. If the pot does not have drainage holes, consider using it as a decorative outer pot and placing a smaller pot inside.
Preparing for Repotting
Before you start repotting, gather the necessary materials and prepare your succulents.
Materials Needed
You will need a new pot, fresh succulent or cactus soil mix, a small trowel or spoon, and gloves if desired. It may also be helpful to have a spray bottle with water to lightly mist the plants.
Watering Before Repotting
Water your succulents a few days before repotting. This helps hydrate the plants and makes them easier to handle. However, do not water them immediately before repotting, as wet soil can be messy and may damage the roots.
Steps for Repotting Succulents Together
Follow these steps to repot your succulents effectively.
Remove the Succulents from Their Current Pots
Gently squeeze the sides of the pot to loosen the soil. Carefully pull the plant out by the base, avoiding damage to the leaves and roots. If the plant is stubborn, use a trowel to gently pry it out.
Inspect the Roots
Once removed, inspect the roots for any signs of rot or damage. Healthy roots should be firm and white. Trim away any black or mushy roots with clean scissors. This helps prevent the spread of disease.
Prepare the New Pot
Fill the bottom of the new pot with a layer of fresh succulent soil mix. This layer should be about one inch deep. This will provide a good base for the plants.
Arrange the Succulents
Before planting, arrange the succulents in the new pot without planting them. Consider their height, shape, and color for an attractive arrangement. Ensure that taller plants are placed in the center or back and shorter ones in the front.
Plant the Succulents
Once you are satisfied with the arrangement, start planting the succulents. Use your fingers or a trowel to create holes in the soil for each plant. Place the roots into the holes and gently pack the soil around them. Ensure that the plants are stable and upright.
Fill in the Gaps
After all the succulents are planted, fill in any gaps with additional soil. This helps support the plants and keeps them secure. Avoid packing the soil too tightly, as succulents prefer loose, well-draining soil.
Water Sparingly
After repotting, wait a few days before watering the succulents. This allows the roots to recover from any stress and helps prevent root rot. When you do water, do so lightly, ensuring the soil is moist but not soggy.
Aftercare for Repotted Succulents
Once you have repotted your succulents together, providing the right care is essential for their successful establishment.
Light Conditions
Place the newly repotted succulents in a location with bright, indirect sunlight. Avoid direct sunlight for the first few days to prevent stress. After they have acclimated, you can gradually introduce them to more light.
Watering Routine
Monitor the soil moisture closely after repotting. Water only when the top inch of soil feels dry. This may take longer than usual, as the plants are adjusting to their new environment.
Fertilization
Do not fertilize immediately after repotting. Wait a month or so to allow the plants to settle in. Once established, you can use a diluted cactus fertilizer during the growing season to promote healthy growth.
Common Challenges and Solutions
Repotting succulents together can lead to some challenges. Here are a few common issues and how to address them.
Overcrowding
If the succulents are too crowded in the new pot, they may compete for resources. Monitor their growth and consider repotting them again if they become too large for the space.
Root Rot
If you notice yellowing leaves or mushy stems, root rot may be present. Ensure that the pot has proper drainage and reduce watering. If necessary, remove the affected plant, trim the roots, and repot it in fresh soil.
Pest Infestation
Keep an eye out for pests such as mealybugs or aphids. If you notice any, treat the plants with insecticidal soap or neem oil. Regular inspections can help catch infestations early.
Conclusion
Repotting succulents together can be a rewarding experience that enhances both the health of the plants and the beauty of your space. By following the proper techniques and providing the right care, you can create stunning arrangements that thrive. Understanding the needs of your succulents and addressing any challenges will ensure that your plants remain healthy and vibrant for years to come. Enjoy the process of repotting and the joy of watching your succulent collection flourish.


