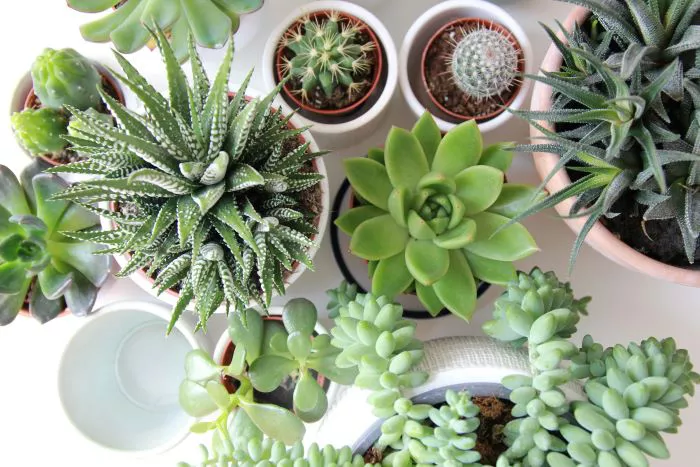
Repotting indoor succulents is an essential part of their care. Over time, these plants may outgrow their containers or the soil may become depleted of nutrients. Repotting provides an opportunity to refresh the soil, promote healthy growth, and ensure that the plants have enough space for their roots to thrive. This article will guide you through the process of repotting indoor succulents, highlighting the necessary steps and considerations.
Understanding When to Repot
Knowing when to repot your succulents is crucial for their health. Several signs indicate that it is time to repot your plants.
Root Bound: If you see roots growing out of the drainage holes or circling the top of the soil, your plant is likely root bound. This means the roots have filled the pot and need more space.
Soil Degradation: Over time, the soil can lose its structure and nutrients. If the soil appears compacted or has a foul smell, it is time to replace it.
Stunted Growth: If your succulent is not growing as expected or appears unhealthy despite proper care, it may need a new pot and fresh soil.
Pests or Disease: If you notice signs of pests or disease, repotting can help remove infested soil and provide a healthier environment.
Choosing the Right Time to Repot
The best time to repot succulents is during their active growing season, which typically occurs in spring and early summer. Repotting during this time allows the plants to recover quickly and establish themselves in their new environment. Avoid repotting during the fall and winter months when succulents enter dormancy and are less able to handle the stress of being moved.
Selecting the Right Pot
Choosing the right pot is crucial for the health of your succulents. Several factors should be considered when selecting a new container.
Size: The new pot should be slightly larger than the current one. A pot that is too large can retain excess moisture, leading to root rot. A general rule is to choose a pot that is one size up from the current one.
Material: Terracotta pots are a popular choice for succulents because they allow for good airflow and moisture evaporation. Plastic pots are lighter and retain moisture longer, so they may require more careful watering.
Drainage: Ensure that the pot has drainage holes at the bottom. Proper drainage is essential for preventing water from accumulating and causing root rot.
Gathering Supplies
Before you begin the repotting process, gather all the necessary supplies. Here is a list of items you will need.
Fresh succulent potting mix or a well-draining soil mix
A new pot with drainage holes
A trowel or small shovel
Scissors or pruning shears (if needed)
Gloves (optional, especially for handling spiky succulents)
Watering can or spray bottle
Steps to Repot Indoor Succulents
Follow these steps to successfully repot your indoor succulents.
Prepare the New Pot: Start by adding a layer of fresh potting mix to the bottom of the new pot. This layer should be about one to two inches deep, depending on the size of the plant.
Remove the Succulent from Its Current Pot: Gently grasp the base of the succulent and tilt the pot to one side. Tap the sides of the pot to loosen the soil. Carefully pull the plant out, supporting the base to avoid damaging the leaves.
Examine the Roots: Once the plant is out of the pot, inspect the roots. If they are tightly bound or circling the root ball, gently tease them apart with your fingers. If you see any dead or mushy roots, trim them away using scissors or pruning shears.
Place the Succulent in the New Pot: Position the succulent in the center of the new pot. Ensure that the top of the root ball is level with the rim of the pot. Add more potting mix around the sides to fill in any gaps, making sure the plant is secure.
Water the Plant: After repotting, lightly water the succulent. Be careful not to soak the soil. Allow the excess water to drain out of the bottom. This initial watering helps settle the soil around the roots.
Allow for Recovery: After repotting, place the succulent in a location with bright, indirect sunlight. Avoid direct sunlight for a few days to allow the plant to recover from the stress of repotting.
Caring for Repotted Succulents
After repotting, it is important to provide proper care to help your succulent adjust to its new environment.
Watering: Wait about a week before watering again. This allows the roots to heal and reduces the risk of root rot. After this period, resume your regular watering schedule, ensuring the soil dries out between waterings.
Light: Continue to provide bright, indirect light. Monitor the plant for signs of stress, such as wilting or stretching, which may indicate inadequate light or overexposure.
Fertilizing: Avoid fertilizing immediately after repotting. Wait for about a month before applying a diluted succulent fertilizer. This gives the plant time to acclimate to its new pot and soil.
Conclusion
Repotting indoor succulents is a straightforward process that can greatly benefit the health and appearance of your plants. By recognizing the signs that indicate it is time to repot, selecting the right pot and soil, and following the proper steps, you can ensure that your succulents thrive in their new environment. With care and attention, your repotted succulents will continue to grow and flourish, adding beauty to your indoor space for years to come. Enjoy the process of nurturing your plants and watching them thrive in their new homes.


