Creating a pumpkin succulent planter is a delightful and creative way to combine seasonal decor with the beauty of succulents. This project is ideal for autumn and can serve as a stunning centerpiece for your home or garden. Succulents are low-maintenance plants that thrive in various conditions, making them perfect for this type of planter. This article provides a step-by-step guide on how to make a pumpkin succulent planter, covering everything from selecting your materials to caring for your new arrangement.
Choosing the Right Pumpkin
The first step in creating a pumpkin succulent planter is selecting the right pumpkin. Look for a pumpkin that is firm and free from blemishes or soft spots. The size of the pumpkin will depend on how many succulents you plan to use. A medium-sized pumpkin is often ideal, as it provides enough space for several plants while remaining manageable. You can choose traditional orange pumpkins or opt for white, green, or decorative varieties for a unique look.
Preparing the Pumpkin
Once you have chosen your pumpkin, it is time to prepare it for planting. Follow these steps to prepare your pumpkin.
Cut the Top Off: Use a sharp knife to carefully cut a circular opening at the top of the pumpkin. Make sure the opening is large enough to allow you to work inside the pumpkin comfortably. Set the top aside for later use.
Scoop Out the Insides: Using a spoon or a pumpkin carving tool, scoop out the insides of the pumpkin. Remove all the seeds and stringy pulp. This step is essential, as it prevents the decay of the pumpkin and provides a clean space for your succulents.
Let it Dry: Allow the hollowed pumpkin to dry for a few hours. This will help reduce moisture inside the pumpkin, which can lead to rot.
Adding Drainage
Proper drainage is crucial for the health of your succulents. Since pumpkins do not have drainage holes, you will need to create a drainage layer at the bottom of the pumpkin.
Add Rocks or Gravel: Place a layer of small rocks or gravel at the bottom of the pumpkin. This layer will help excess water drain away from the roots of the succulents.
Add Charcoal: If you have activated charcoal, add a thin layer on top of the rocks. Charcoal helps absorb odors and prevents bacterial growth, further protecting your plants.
Filling with Soil
After adding the drainage layer, it is time to fill the pumpkin with soil.
Use Cactus or Succulent Soil: Fill the pumpkin with a well-draining cactus or succulent soil mix. This type of soil is specifically designed to provide the right balance of drainage and moisture retention for succulents.
Leave Space for Plants: Fill the pumpkin until it is about three-quarters full, leaving enough space for your succulents to be planted.
Planting the Succulents
Now that your pumpkin is prepared and filled with soil, it is time to plant your succulents.
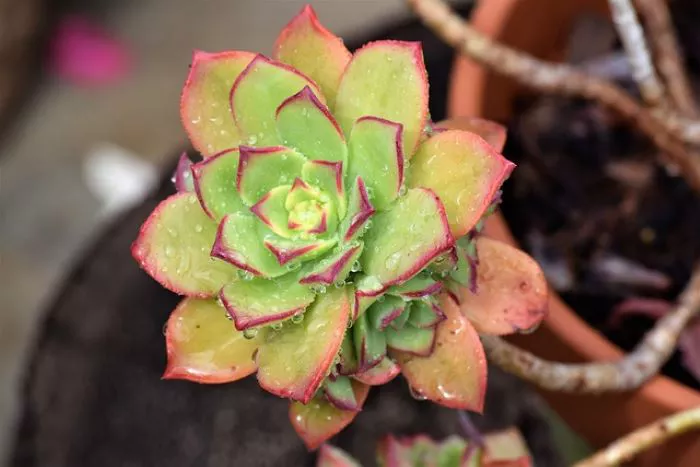
Select Your Succulents: Choose a variety of succulents that complement each other in terms of color, shape, and size. Popular choices for pumpkin planters include Echeveria, Sedum, and Haworthia. Make sure the succulents are healthy and free from pests.
Create Holes for the Plants: Use your fingers or a small tool to create holes in the soil for each succulent. The holes should be deep enough to accommodate the roots of the plants.
Plant the Succulents: Gently remove each succulent from its pot and loosen any tightly bound roots. Place the succulent in the hole and fill in around the roots with soil. Press down lightly to secure the plant in place. Repeat this process for each succulent.
Arrange for Aesthetics: Consider the arrangement of your plants. Taller succulents can be placed in the center or back, while shorter varieties can be positioned around the edges. This creates a visually appealing display.
Caring for Your Pumpkin Succulent Planter
After planting, it is important to provide the right care for your pumpkin succulent planter.
Watering: Water the succulents lightly after planting. Allow the soil to dry out completely between waterings. Overwatering can lead to root rot, so it is better to err on the side of caution.
Light Conditions: Place your pumpkin planter in a location that receives bright, indirect sunlight. Succulents thrive in well-lit areas, but direct sunlight can scorch their leaves.
Temperature: Succulents prefer temperatures between 18°C and 24°C (65°F to 75°F). Keep the planter in a stable environment, avoiding extreme temperature fluctuations.
Fertilization: Fertilizing is not necessary for the first few weeks after planting. Once your succulents are established, you can use a diluted liquid fertilizer designed for cacti and succulents during the growing season.
Displaying Your Pumpkin Succulent Planter
Your pumpkin succulent planter can serve as a beautiful decoration for your home or garden. Consider placing it on a table, porch, or windowsill where it can be admired. You can also enhance the display by adding decorative elements such as small stones, moss, or other seasonal decorations.
Conclusion
Making a pumpkin succulent planter is a fun and creative project that allows you to enjoy the beauty of succulents while celebrating the autumn season. By following the steps outlined in this article, you can create a stunning planter that will bring joy to your home. Remember to choose the right pumpkin, prepare it properly, and provide the necessary care for your succulents. With a little attention, your pumpkin succulent planter will thrive and serve as a charming centerpiece for weeks to come. Enjoy the process of creating and nurturing your unique arrangement, and let it inspire your love for gardening and creativity.


