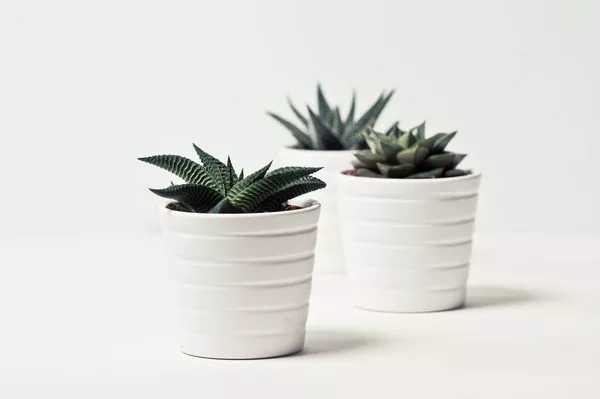
Succulents have gained immense popularity among gardening enthusiasts due to their unique appearance, low maintenance requirements, and ability to thrive in various environments. Echeveria, a diverse genus of succulents known for their rosette-shaped leaves and vibrant colors, is particularly favored by collectors and hobbyists. Propagating echeveria succulents is a rewarding endeavor that allows you to expand your collection or share these charming plants with friends and family. This article delves into the art of propagating echeverias, exploring various methods, best practices, and closely related topics.
Understanding Echeveria Propagation: Methods and Techniques
There are several effective methods for propagating echeveria succulents, each catering to different skill levels and desired outcomes. Here are the most common techniques:
1. Leaf Cuttings
Leaf cuttings are the quintessential method for propagating echeverias. Follow these steps for success:
Select Healthy Leaves: Choose plump, healthy leaves from the parent plant. Gently twist or cut them off, ensuring a clean break.
Callus Formation: Allow the cut ends of the leaves to callus over for a day or two. This minimizes the risk of rot during propagation.
Potting Medium: Plant the callused end of the leaf into a well-draining potting mix. Use a container with good drainage to prevent excess moisture.
Root Development: Place the potted leaves in a bright, indirect light location. Mist the soil occasionally to maintain some humidity. Roots will eventually form, followed by tiny rosettes.
Transplanting: Once new rosettes reach a reasonable size, gently transplant them into their individual pots.
2. Offsets or “Chicks”
Echeverias often produce offsets, also known as “chicks,” around the base of the main rosette. Propagate them using these steps:
Identify Offsets: Wait until the offsets have grown to a reasonable size, usually about one-third the size of the parent rosette.
Separation: Carefully detach the offsets from the main plant using a clean, sharp knife or your hands. Ensure that each offset has some roots attached.
Callus and Plant: Allow the separated offsets to callus over for a day. Then, plant them in well-draining soil, burying the roots slightly. Water lightly and place in indirect sunlight.
3. Stem Cuttings
Stem cuttings are a faster way to propagate echeverias. Here’s how:
Cutting Selection: Choose a healthy echeveria stem and snip a section that is a few inches long. Make sure it’s a clean cut and allow it to air dry for a day.
Rooting: Insert the dried stem cutting into a potting mix, burying it about an inch deep. Water lightly and keep in a warm, shaded area. Roots will develop in a few weeks.
Transplanting: Once roots are established, transplant the cutting into a larger container or individual pots.
Optimal Conditions for Echeveria Propagation
Successful echeveria propagation depends on creating the right environment for root and rosette formation. Consider the following factors:
1. Light
Provide bright, indirect sunlight for newly propagated echeverias. Avoid placing them in direct sun, as it can cause sunburn or heat stress.
2. Temperature
Maintain a temperature range of 65-75°F (18-24°C) for leaf cuttings and offsets. For stem cuttings, slightly warmer temperatures around 70-80°F (21-27°C) are beneficial.
3. Soil
Use a well-draining succulent or cactus potting mix. Alternatively, create your own mix by combining potting soil, perlite, and coarse sand in equal parts.
4. Watering
Water sparingly during propagation. Mist the soil occasionally to maintain humidity for leaf cuttings. For offsets and stem cuttings, lightly water around the base, allowing the soil to dry out between waterings.
5. Humidity
Echeverias prefer low humidity environments. Adequate air circulation prevents excess moisture and reduces the risk of fungal issues.
Care and Maintenance
Proper care and maintenance ensure that your propagated echeverias continue to flourish. Consider these key aspects:
1. Potting and Repotting
As echeverias grow, they may outgrow their pots. Repot them into slightly larger containers using fresh potting mix every 2-3 years, preferably in the spring.
2. Watering Routine
Establish a consistent watering routine once your propagated echeverias are established. Water deeply but infrequently, allowing the soil to dry out before the next watering.
3. Fertilization
Feed echeverias with a diluted, balanced liquid fertilizer during the active growing season (spring and summer). Avoid over-fertilizing, as this can lead to leggy growth.
4. Pest Management
Keep an eye out for common succulent pests such as mealybugs and aphids. If infestations occur, treat them promptly with insecticidal soap or neem oil.
5. Winter Care
During the winter months, echeverias enter a period of dormancy. Reduce watering frequency and protect them from freezing temperatures by moving them indoors or providing frost cloth.
Sharing the Joy of Echeveria Propagation
Echeveria propagation offers a delightful way to expand your succulent collection, experiment with different techniques, and nurture new plants. By following the methods and practices outlined in this guide, you can successfully propagate echeveria succulents and enjoy the beauty of these charming rosettes in various corners of your garden or living space. Remember that each echeveria has its unique characteristics, so observe their growth closely and adapt your care accordingly. Happy propagating!
Conclusion
Propagating echeveria succulents is a rewarding journey that enables you to multiply your collection and share the beauty of these plants with others. By mastering leaf cuttings, offsets, and stem cuttings, and providing the right conditions for growth, you can propagate healthy echeverias. Additionally, maintaining their well-being through proper care, potting, watering, and addressing potential challenges ensures the longevity and vibrancy of these stunning succulents. Whether you’re a seasoned gardener or a beginner, the world of echeveria propagation welcomes you to explore, learn, and cultivate an array of captivating rosettes.


