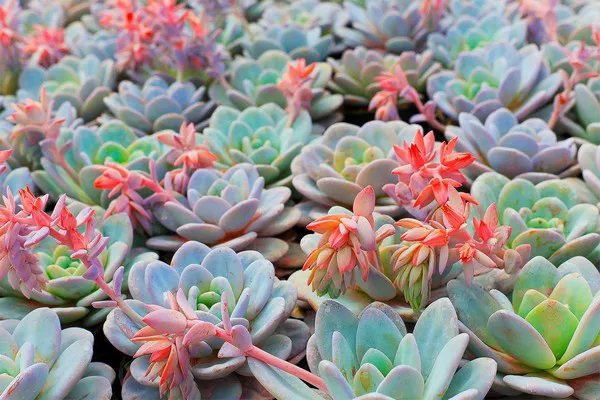
Succulents, with their captivating array of shapes and colors, have become a popular choice for both novice and experienced gardeners. As these plants grow, it’s crucial to provide them with ample space to flourish and thrive. Transferring succulents to larger pots is a critical step in their care routine. In this guide, we will explore the reasons behind repotting, the best timing for the process, and a step-by-step procedure to ensure the successful transfer of your beloved succulents.
1. Why Repot Succulents?
Succulents have unique characteristics that set them apart from other plants. Their ability to store water in their leaves and stems makes them excellent survivors in arid conditions. However, as they grow, their root systems require additional room to sustain the plant’s overall health. Repotting succulents provides several benefits, including:
Enhanced Growth: Transferring your succulents to larger pots allows their roots to spread out, encouraging better nutrient absorption and overall growth.
Preventing Root Bound Conditions: Succulents confined to small pots can become root-bound, where their roots tangle and crowd together. This can impede water and nutrient uptake and lead to stunted growth.
Improved Drainage: Larger pots with appropriate drainage holes prevent water from pooling around the roots, reducing the risk of root rot—a common issue among succulents.
Aesthetic Appeal: Repotting provides an opportunity to refresh the plant’s appearance and arrange it in a more visually appealing manner.
2. Choosing the Right Time
Timing is crucial when transferring succulents to larger pots. The best time to repot is during the active growing season, which typically falls in the spring and early summer. This is when succulents are most actively growing and can quickly recover from the transplant shock. Avoid repotting during the dormant winter months, as the plants are less resilient and may struggle to adapt to their new environment.
3. Selecting the Perfect Pot
Choosing the right pot is essential for the health and growth of your succulents. Opt for a container that is slightly larger than the current one, providing ample room for growth without overwhelming the plant. Consider the following factors:
Drainage: Ensure the pot has drainage holes to prevent water from accumulating around the roots. Excess moisture can lead to root rot.
Material: Terracotta and ceramic pots are popular choices for succulents. They provide good drainage and stability while also adding an aesthetic element to your display.
Depth: Select a pot that is deep enough to accommodate the succulent’s root system. While succulents have shallow roots, they still need enough space to expand.
4. Step-by-Step Repotting Guide
Follow these steps to successfully transfer your succulents to larger pots:
Step 1: Gather Supplies
Collect all the necessary supplies before beginning the repotting process. You will need a new pot, well-draining potting mix suitable for succulents, a trowel, gloves, and a watering can.
Step 2: Prepare the New Pot
Fill the new pot with a layer of succulent-specific potting mix. This mix should be well-draining and formulated to suit succulent needs.
Step 3: Remove the Succulent
Gently remove the succulent from its current pot by tipping it upside down while supporting the base of the plant. Tap the pot’s sides to loosen the root ball and carefully slide the plant out.
Step 4: Inspect the Roots
Examine the root system for any signs of rot or disease. Trim away any dead or rotting roots using clean, sharp scissors or pruning shears.
Step 5: Position in the New Pot
Place the succulent in the center of the new pot, ensuring it sits at the same depth as it did in the old pot. Add or remove potting mix as needed to achieve the proper height.
Step 6: Fill with Potting Mix
Gently fill the space around the succulent with the potting mix, pressing it down lightly to secure the plant in place. Leave a small gap between the soil surface and the rim of the pot for watering.
Step 7: Water Sparingly
After repotting, refrain from watering the succulent for a few days. This allows any minor root damage to heal and prevents overhydration, which can lead to further stress.
Step 8: Gradual Sun Exposure
Place the repotted succulent in a location with bright, indirect sunlight for a few days. Gradually introduce it to more direct sunlight to prevent sunburn.
Step 9: Resume Normal Care Routine
Once the succulent has had time to acclimate, resume your normal care routine, including regular watering and occasional fertilizing.
5. Aftercare and Maintenance
After repotting your succulents, it’s essential to monitor their progress and provide proper care:
Watering: Succulents prefer infrequent but deep watering. Allow the soil to dry out between waterings to prevent overwatering.
Light: Ensure your succulents receive adequate sunlight. Most succulents thrive in bright, indirect light, while some can handle more direct sun exposure.
Temperature: Keep an eye on the temperature conditions. Most succulents prefer temperatures between 60°F and 75°F (15°C to 24°C).
Fertilizing: Fertilize your succulents sparingly during the growing season. Use a diluted, balanced fertilizer formulated for succulents.
Conclusion
Transferring succulents to larger pots is a crucial step in their care routine, promoting healthy growth, preventing root-bound conditions, and enhancing the overall aesthetic appeal of your plants. By understanding the reasons behind repotting, choosing the right time and pot, and following a careful step-by-step procedure, you can ensure a smooth transition for your beloved succulents. With proper aftercare and maintenance, your repotted succulents will continue to thrive and captivate with their unique beauty for years to come.


