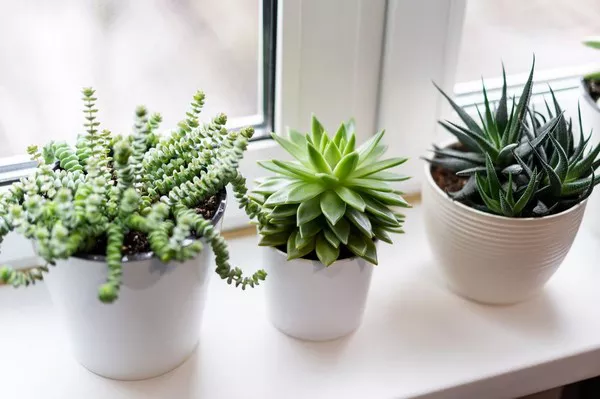
Succulents have taken the gardening world by storm with their striking beauty and adaptability to various environments. Among the many intriguing aspects of succulent care, understanding whether a succulent leaf is calloused is a crucial skill. Calloused leaves play a pivotal role in propagation, preventing rot, and ensuring the successful growth of new plants. In this comprehensive guide, we will delve into the world of succulent leaf callousness, explore its significance in propagation, and provide step-by-step instructions on how to identify calloused leaves.
1. The Importance of Calloused Leaves in Propagation
Propagation is a common method for expanding your succulent collection, and understanding calloused leaves is essential in this process. When you propagate succulents from leaves or cuttings, callousing serves as a protective barrier against potential infections and rot. A calloused leaf creates a barrier that seals off the open wound, preventing moisture from entering and causing decay. This barrier not only protects the original leaf but also promotes the growth of new roots and eventually a new succulent plant.
2. Why Calloused Leaves Prevent Rot
Succulents are adapted to arid environments and store water in their leaves, stems, or roots. However, excessive moisture can lead to rot, which is a common cause of succulent decline. Callousing prevents moisture from infiltrating the leaf tissue and causing it to rot. Without a callous, water could accumulate in the open wound left by removing the leaf from the parent plant, creating a favorable environment for fungal and bacterial growth.
3. Identifying Calloused Leaves: Step-by-Step Guide
Recognizing whether a succulent leaf is calloused is relatively straightforward, but it requires a keen eye and attention to detail. Here’s a step-by-step guide to help you identify calloused leaves:
Select a Healthy Leaf: Choose a healthy leaf that is plump and free from blemishes or damage.
Gently Remove the Leaf: Carefully remove the leaf from the parent plant by gently wiggling it back and forth until it separates cleanly. Use clean, sharp scissors or tweezers to ensure a clean break.
Place the Leaf on a Dry Surface: Allow the detached leaf to rest on a dry surface in a warm and well-ventilated area. A countertop, tray, or paper towel works well.
Wait for the Wound to Heal: The healing process will usually take 1-3 days, depending on environmental conditions. During this time, the open end of the leaf will dry out and form a protective callous.
Inspect for Callous Formation: After the healing period, examine the base of the leaf where it was attached to the stem. A callous will appear as a dry, slightly roughened or thickened area. The callous will usually be tan or brown in color.
4. Factors Affecting Callous Formation
Several factors can influence the speed and effectiveness of callous formation in succulent leaves:
Humidity: Higher humidity levels can slow down the drying process, while lower humidity promotes quicker callous formation.
Temperature: Warmer temperatures facilitate faster drying and callous formation. Aim for a temperature range of 65°F to 75°F (18°C to 24°C).
Air Circulation: Proper air circulation is crucial for effective drying. Ensure the area where you place the leaves is well-ventilated.
Leaf Size: Larger leaves may take slightly longer to callous than smaller ones.
5. Common Mistakes to Avoid
While identifying calloused leaves is a relatively straightforward process, there are some common mistakes to avoid to ensure successful propagation:
Rushing the Process: Allowing the leaves sufficient time to callous is essential. Rushing the process may result in unsuccessful propagation attempts.
Excessive Moisture: Placing the leaves in a damp or humid environment can hinder callous formation and promote rot.
Using Damaged Leaves: Propagating with damaged or unhealthy leaves may lead to unsuccessful results. Choose only healthy, plump leaves for propagation.
Skipping the Callousing Step: Attempting to propagate succulent leaves without callousing them first increases the risk of rot and unsuccessful root growth.
6. Advanced Techniques: Callousing Cuttings
In addition to individual leaves, succulent cuttings, which are portions of stems with multiple leaves, can also be calloused before planting. This process is particularly useful when propagating succulents with stems that can be cut into sections.
Select and Cut the Stem: Choose a healthy stem and use clean, sharp scissors or a knife to make a clean cut below a leaf node.
Allow the Cut End to Callous: Place the cutting in a dry, well-ventilated area and let the cut end callous for 1-3 days. The cut end will appear dry and slightly rough.
Plant the Cutting: Once calloused, plant the cutting in a well-draining succulent mix. Water sparingly until new roots form.
Conclusion
Understanding the concept of calloused leaves and their significance in succulent propagation is a valuable skill for any succulent enthusiast. By allowing the leaf or cutting to form a protective callous, you create optimal conditions for new roots to develop while minimizing the risk of rot. Following the step-by-step guide and avoiding common mistakes will help you successfully identify calloused leaves and enhance your success in propagating healthy and vibrant succulents. Remember, patience is key, and careful attention to detail will yield rewarding results as you watch new succulent life sprout and thrive.


