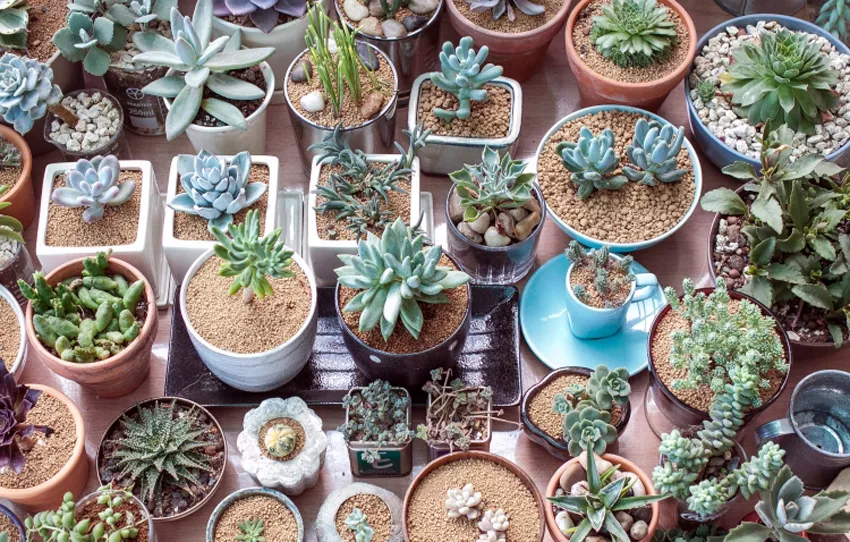
Cactus and succulents are renowned for their resilience and unique beauty, making them popular choices among plant enthusiasts. Whether you’re a seasoned gardener or a beginner, transplanting cactus and succulents can be a rewarding endeavor that allows you to nurture and showcase these captivating plants. In this comprehensive guide, we will delve into the essential steps and considerations for successfully transplanting cactus and succulents.
Selecting the Right Time and Location for Cactus and Succulents
1. Choosing the Optimal Season
Before diving into the transplanting process, it’s crucial to pick the right time of year. Spring and early summer are generally the best seasons for transplanting cactus and succulents. During this period, the plants are in their active growth phase, which enhances their ability to recover from the shock of transplantation.
2. Ideal Transplanting Location
Selecting the appropriate location is equally vital. Cactus and succulents thrive in well-draining soil and ample sunlight. Ensure that the new site you choose provides the right conditions, with at least six hours of direct sunlight each day. Proper drainage is paramount, as these plants are susceptible to root rot if exposed to excessive moisture.
Gathering the Necessary Tools and Materials for Cactus and Succulents
To transplant cactus and succulents successfully, you’ll need a few key tools, including:
- Gloves: Protect your hands from spines and prickles.
- Tongs or tweezers: Useful for handling spiky plants with care.
- Pot or container: Choose one with drainage holes.
- Succulent or cactus mix: A well-draining potting mix designed for these plants.
- Rocks or gravel: For enhancing drainage in the container.
Having these tools on hand will streamline the transplanting process and help prevent any injuries or damage to your cactus and succulents.
Preparing the Cactus or Succulent
1. Careful Extraction
Begin by carefully extracting the cactus or succulent from its current container or location. Wear gloves and use tongs or tweezers to avoid getting pricked by spines. Gently tip the plant out of its container, taking care not to damage the roots.
2. Inspecting the Roots
Inspect the root system for any signs of disease or damage. Trim away any rotting or unhealthy roots using sterilized pruning shears. Healthy roots are typically firm, white, and free of blemishes.
3. Allowing for Healing Time
After pruning, allow the plant to air dry for a day or two to promote callus formation. This step is crucial to prevent rot when transplanting cactus and succulents.
Preparing the New Container for Cactus and Succulents
1. Choosing the Right Pot
Select a pot or container that is slightly larger than the current one. Ensure it has drainage holes to prevent waterlogged soil, which can be detrimental to cactus and succulents.
2. Adding Adequate Drainage
To enhance drainage, place a layer of rocks or gravel at the bottom of the container. This will help excess water escape and protect the roots from sitting in damp soil.
3. Preparing the Potting Mix
Use a specialized succulent or cactus mix that provides excellent drainage. You can also create your own mix by combining potting soil with sand or perlite in a 1:1 ratio. Fill the container about one-third full with this mix.
Transplanting the Cactus or Succulent
1. Positioning in the Container
Gently place the cactus or succulent in the center of the new container. Ensure that it sits at the same level as it did in its previous pot. Add more potting mix around the plant, gently pressing it down to secure the plant in place.
2. Watering Carefully
After transplanting cactus and succulents, it’s crucial to water them sparingly. Give the plant a thorough watering, allowing excess water to drain from the pot. Then, let the soil dry out completely before the next watering. Overwatering is a common mistake that can lead to root rot.
Post-Transplant Care for for Cactus and Succulents
1. Providing Adequate Sunlight
Place the newly transplanted cactus or succulent in a location with bright, indirect sunlight for a few days. This allows the plant to acclimate to its new environment without the stress of intense sunlight.
2. Monitoring for Signs of Stress
Keep a close eye on your cactus and succulents for the first few weeks after transplantation. Signs of stress may include wilting, yellowing, or drooping. Adjust watering and lighting conditions as needed to help the plant adapt.
3. Fertilization
Avoid fertilizing your cactus and succulents immediately after transplanting. Wait at least a month before applying a diluted, balanced fertilizer. Over-fertilization can harm the plants, so always follow recommended guidelines.
Conclusion
Transplanting cactus and succulents can be a satisfying experience when done correctly. By carefully selecting the right time and location, gathering essential tools, preparing both the plant and the new container, and following proper transplanting procedures, you can ensure the health and longevity of your beloved cactus and succulents. Remember that patience and attention to detail are key to the success of this rewarding gardening endeavor. With these steps, you can watch your cactus and succulents thrive and continue to grace your space with their unique charm.


