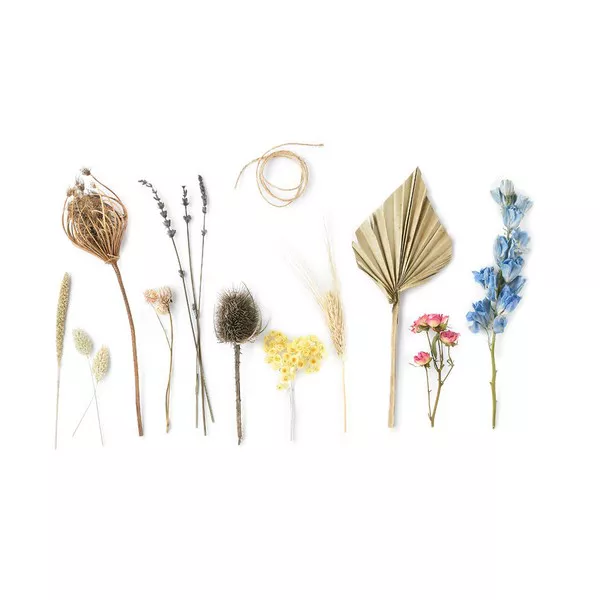
Dried flowers have long been cherished for their timeless beauty and versatility in crafting. However, if you’re looking to add a personal touch or a pop of color to your dried floral arrangements, dyeing them can be an excellent option. Whether you’re a seasoned crafter or a beginner, this guide will walk you through the steps to dye dried flowers effectively, ensuring stunning results every time.
Why Dye Dried Flowers?
Dyeing dried flowers opens up a world of possibilities for customization. Whether you want to match them to a specific color scheme, create unique decorations for special occasions, or simply add vibrancy to your space, dyeing allows you to achieve precisely the look you desire. Additionally, dyeing can help revitalize faded or discolored dried flowers, giving them a fresh lease on life.
Choosing the Right Flowers
Not all dried flowers are suitable for dyeing, so it’s essential to select the right ones for your project. Flowers with dense petals, such as roses, hydrangeas, and carnations, tend to hold dye well and yield vibrant results. Delicate flowers like baby’s breath or Queen Anne’s lace may not withstand the dyeing process as successfully. It’s also crucial to ensure that your dried flowers are clean and free from dust or debris before dyeing.
Preparing the Dye
Before you begin dyeing your dried flowers, you’ll need to prepare the dye solution. There are several options for dyes, including commercial fabric dyes, food coloring, or natural dyes made from items like tea, coffee, or vegetable scraps. Each type of dye will produce slightly different results, so choose based on the color and effect you want to achieve.
If you’re using a commercial fabric dye, follow the manufacturer’s instructions for mixing the dye solution. For natural dyes, you’ll typically need to simmer the dye material in water to extract the color, then strain out any solids before using the liquid as your dye bath. Regardless of the type of dye you choose, make sure to wear gloves and work in a well-ventilated area to avoid staining your skin or inhaling fumes.
Preparing the Flowers
Before dyeing your dried flowers, it’s essential to prepare them properly to ensure even color distribution. Begin by trimming any excess stems or leaves from the flowers, as these can interfere with the dyeing process. You may also want to gently fluff out the petals to ensure that the dye reaches all areas of the flower evenly.
Once your flowers are trimmed and fluffed, it’s time to pre-treat them to help the dye adhere more effectively. One common method is to soak the flowers in a mixture of warm water and glycerin for several hours or overnight. Glycerin helps to rehydrate the flowers and open up their pores, allowing them to absorb the dye more readily. Alternatively, you can mist the flowers with a solution of water and floral preservative to achieve similar results.
Dyeing the Flowers
With your dye solution prepared and your flowers pre-treated, you’re ready to begin the dyeing process. There are several methods you can use to dye dried flowers, depending on the type of dye and the effect you want to achieve. One straightforward method is to submerge the flowers fully in the dye bath and allow them to soak for several hours or overnight. This method works well for flowers with dense petals that can hold a lot of liquid.
If you prefer more control over the dyeing process or want to create a gradient effect, you can use a brush or sponge to apply the dye directly to the flowers. Start by dipping the brush or sponge into the dye solution and lightly dabbing it onto the petals, gradually building up the color until you achieve the desired effect. This method allows you to create intricate patterns or blend multiple colors for a custom look.
Setting the Dye
Once you’ve finished dyeing your dried flowers, it’s essential to set the dye to ensure that it doesn’t fade or wash out over time. The method for setting the dye will depend on the type of dye you used. If you used a commercial fabric dye, follow the manufacturer’s instructions for heat setting, which typically involves applying heat to the flowers using an iron or clothes dryer.
For natural dyes, you can often set the color by spraying the flowers with a mixture of water and vinegar or soaking them in a vinegar solution for a few minutes. Vinegar helps to fix the dye and prevent it from bleeding or fading. After setting the dye, allow the flowers to air dry completely before handling them to avoid smudging or transferring the color.
Tips for Success
- Experiment with different dye colors and techniques to create unique and personalized dried floral arrangements.
- Test the dye on a small sample of flowers before dyeing your entire batch to ensure that you achieve the desired color and effect.
- Consider adding other elements to your dried flower arrangements, such as dried grasses, seed pods, or feathers, to enhance their visual appeal.
- Store your dyed dried flowers in a cool, dry place away from direct sunlight to prevent fading over time.
- If you’re unhappy with the results of your dyeing experiment, don’t be afraid to start over or try a different approach. Dyeing dried flowers can be a trial-and-error process, but with patience and practice, you can achieve beautiful and lasting results.
Conclusion
Dyeing dried flowers is a creative and rewarding way to customize your floral arrangements and breathe new life into old blooms. With the right materials and techniques, you can achieve stunning results that will impress friends and family alike. Whether you’re dyeing flowers for a special occasion or simply to add a touch of color to your home decor, following these steps will ensure success every time. So unleash your creativity and get ready to transform your dried flowers into works of art!


